
Using GenAI – Meeting Minutes Copilot
As a citizen developer it’s so easy to use generative AI. In one of my last blog posts, I outlined the use case of generating meeting minutes from a meeting protocol. Furthermore, I explained the technical details of my meeting minute service. Today I will show you how I build a meeting minutes copilot.
Correctly, I’m talking about building a copilot. Copilot is formerly known as Power Virtual Agent. Moreover, you might have noticed this when you navigate to https://powerva.microsoft.com/:
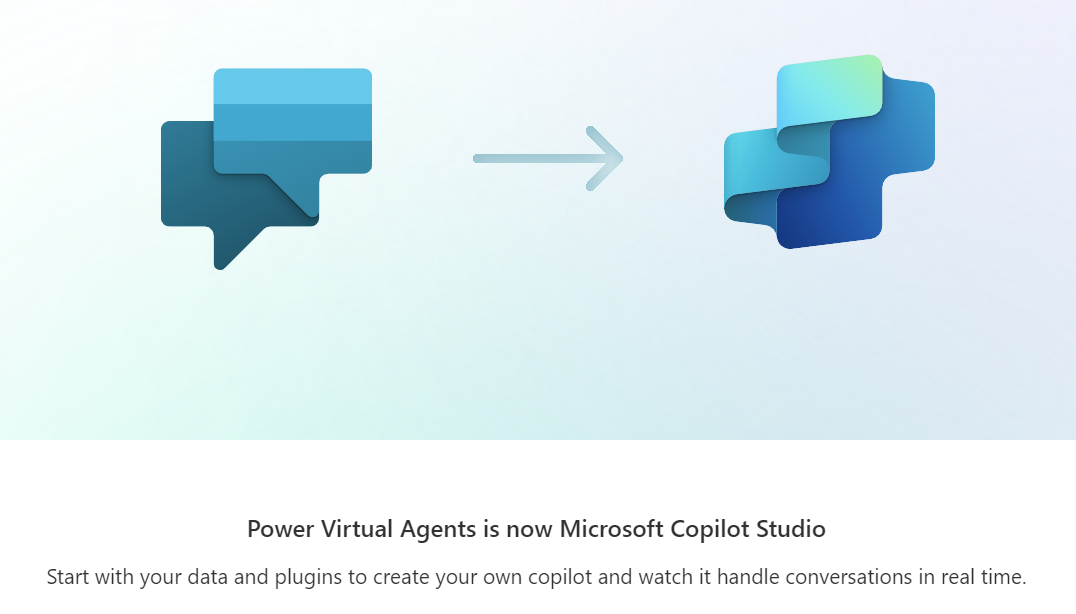
Now this amazing product is called Copilot Studio and I’ll show you, how-to use.
My Meeting Minutes Copilot
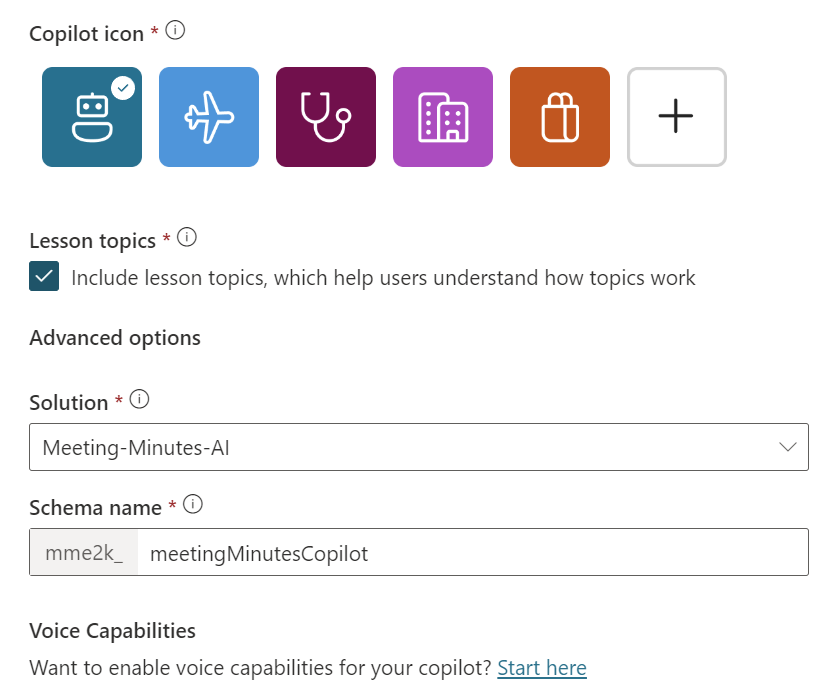
First, in Microsoft Copilot Studio I’m creating a new Copilot with the name Meeting Minutes Copilot. In addition, I’m selecting as copilot language English:

There are also advanced options, which allows me to define an icon and Power Platform solution details for my new copilot:
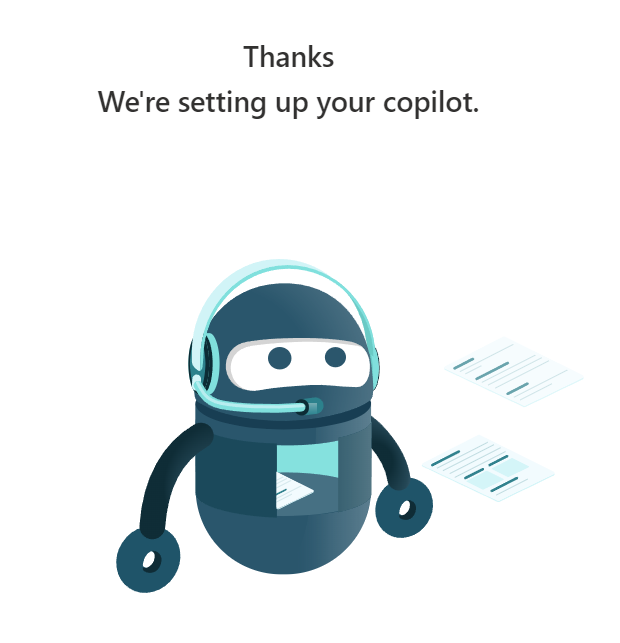
After clicking on the Create Copilot button, I can wait and watch a fancy animation until my copilot is ready:
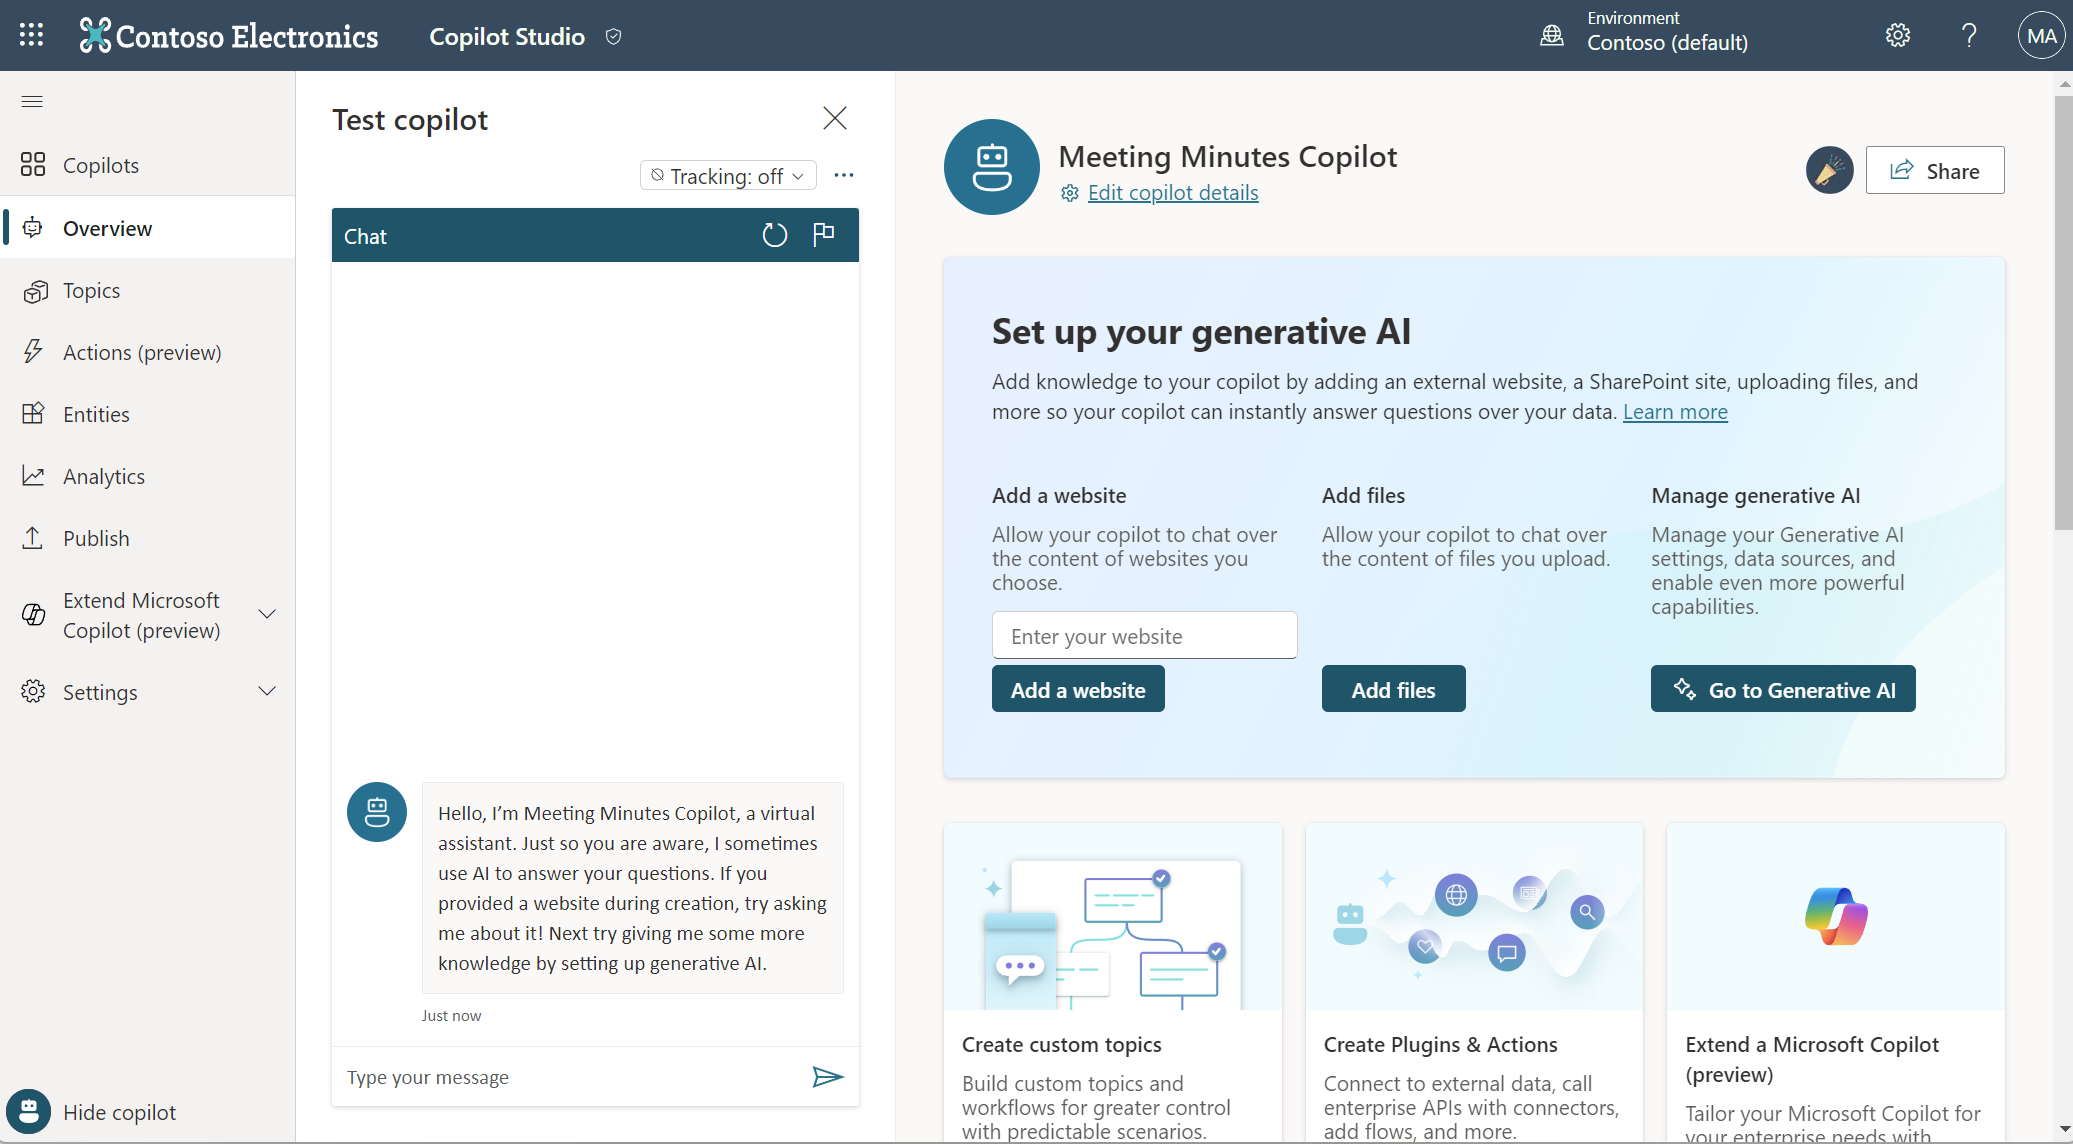
After a while, my meeting minutes copilot is ready:
Ok, what’s next?
Copilot Basics
Before I start here some basics about Microsoft Copilot for you. First, a copilot defines a how a copilot conversation progresses within topics.
Therefore, I navigate to Topics and see there are some already some existing topics in my meeting minutes copilot:

A closer look at one of these topics shows me that a topic contains the logic of a partial conversation. In other words, a topic is like a dialog flow:
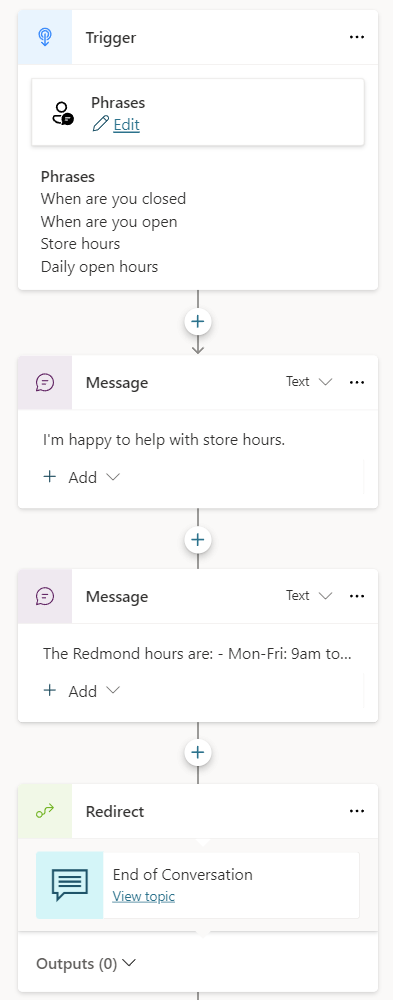
Like a Power Automate Flow, a topic starts also with a Trigger, which can be described with some phrases. In addition, you see from the example, this topic contains actions and can redirect to other topics. In other words, I can use a topic to split my copilot conversation functionality into small dialog chunks.
Secondly, I can extend the capabilities of my copilot by adding actions as plugins. I navigate to Actions and see there are currently no actions:
Microsoft says: plugin actions are used by my copilot to respond to users automatically. This means, I can (re)use here, for example my custom connectors.
Reusing my Meeting Minutes API
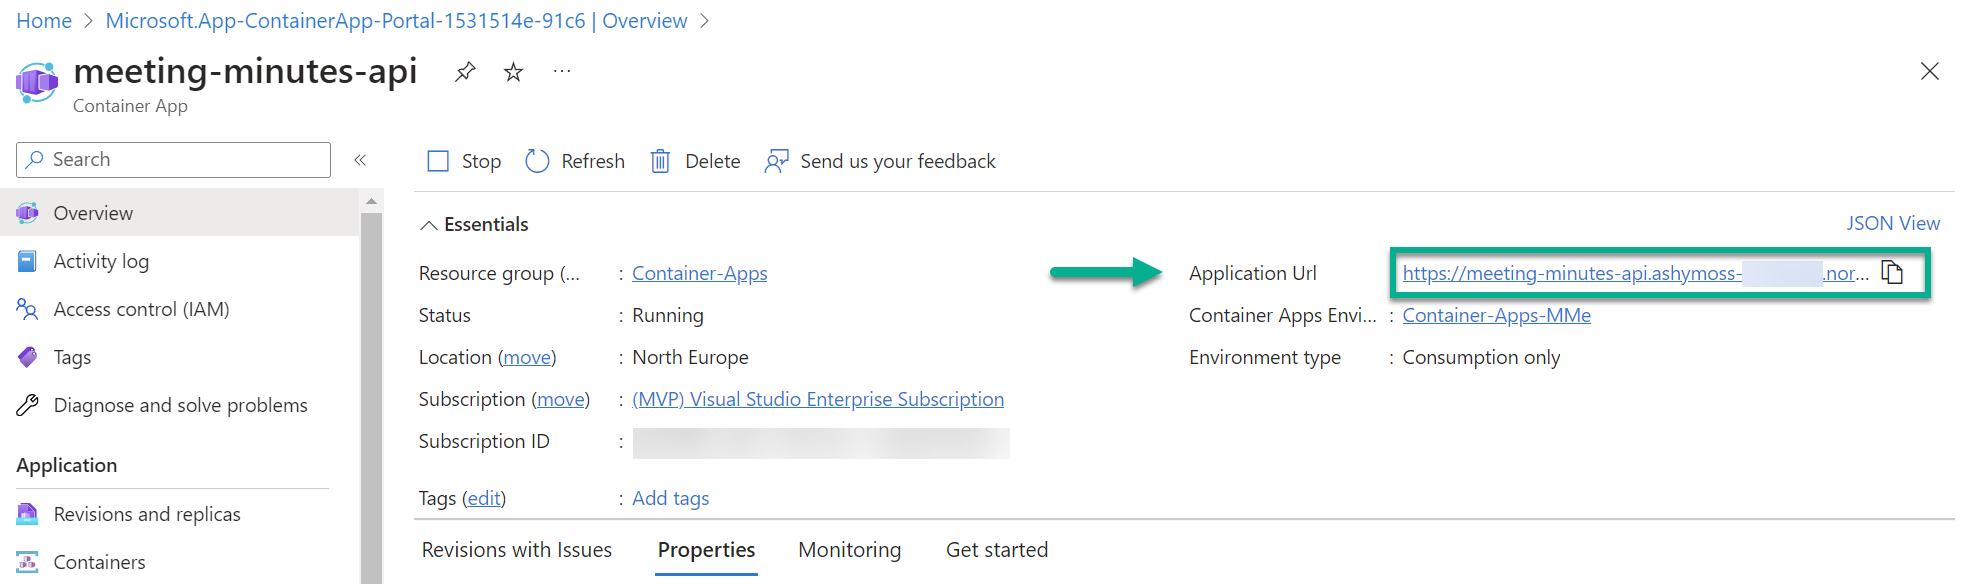
The result of my meeting minute service blog post was, I had deployed my API in Microsoft Azure as Containerized App. This means, I have already an endpoint that I can use in my Copilot:
In addition, I already utilized this API within Power Automate by using an HTTP action:
This will help me to build a topic for my meeting minutes copilot that can generate my meeting minutes from a given meeting transcript.
New Topic – Generate Meeting Minutes
First, I’m navigating back to my copilot topics. Then, I start creating a new topic from a description:
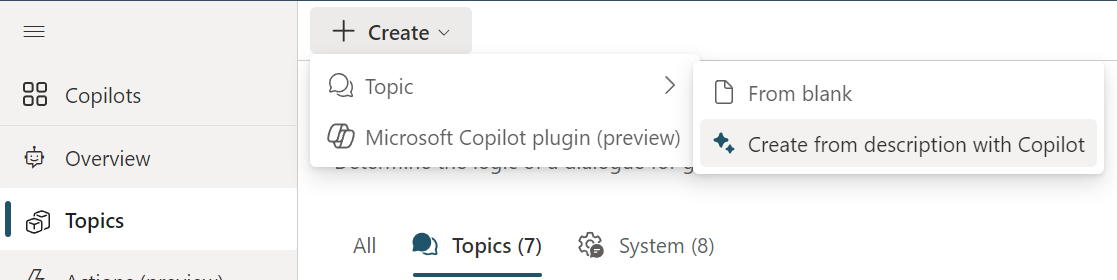
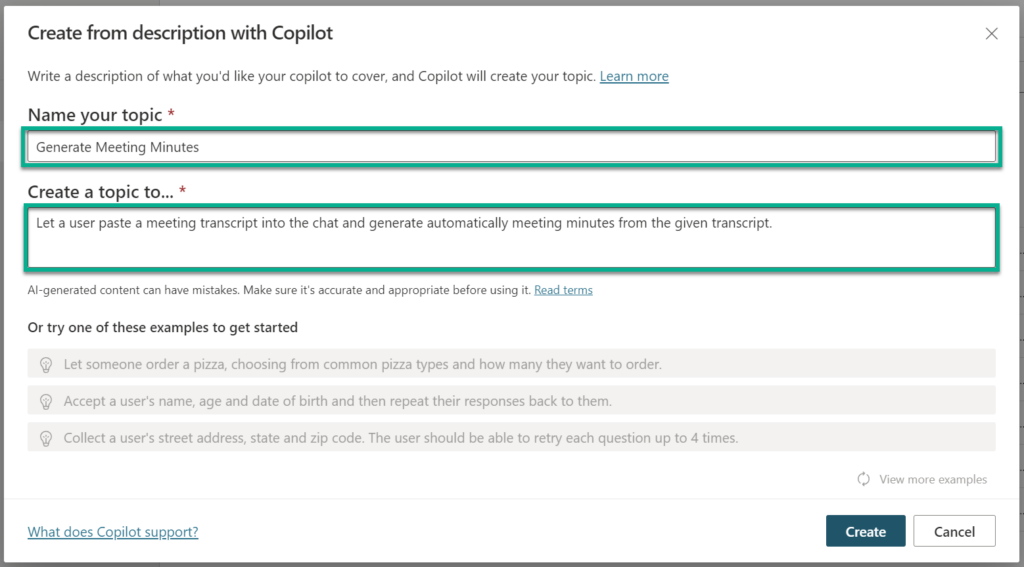
As you see, I use the name Generate Meeting Minutes for my new topic. In addition, I have added a description in the field Create a topic to...:
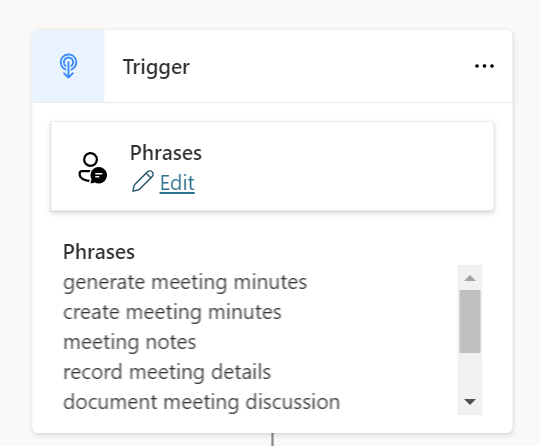
As result, Microsoft Copilot Studio automatically generates some trigger phrases for me:
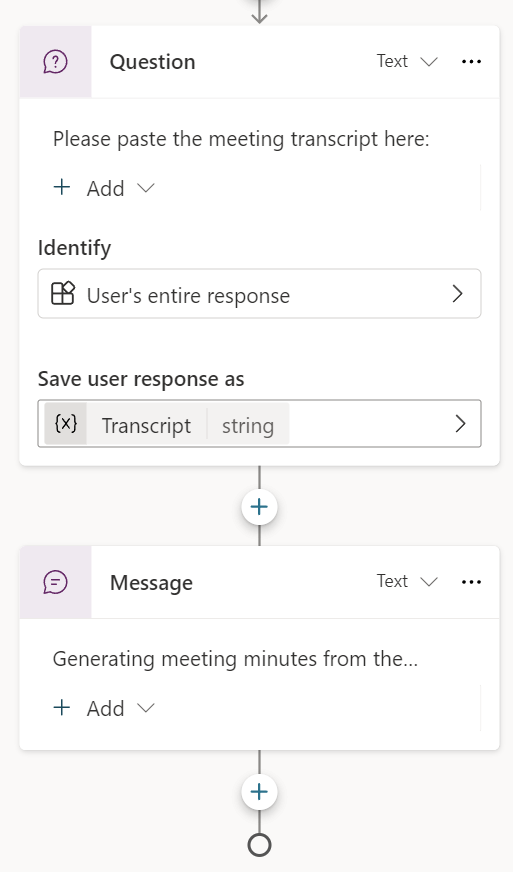
In addition, Copilot Studio also added a question and a message to my conversation flow:
How cool is that!
I start adding a new node to my dialog flow:

A dialog opens, and now I can select Create a new flow:
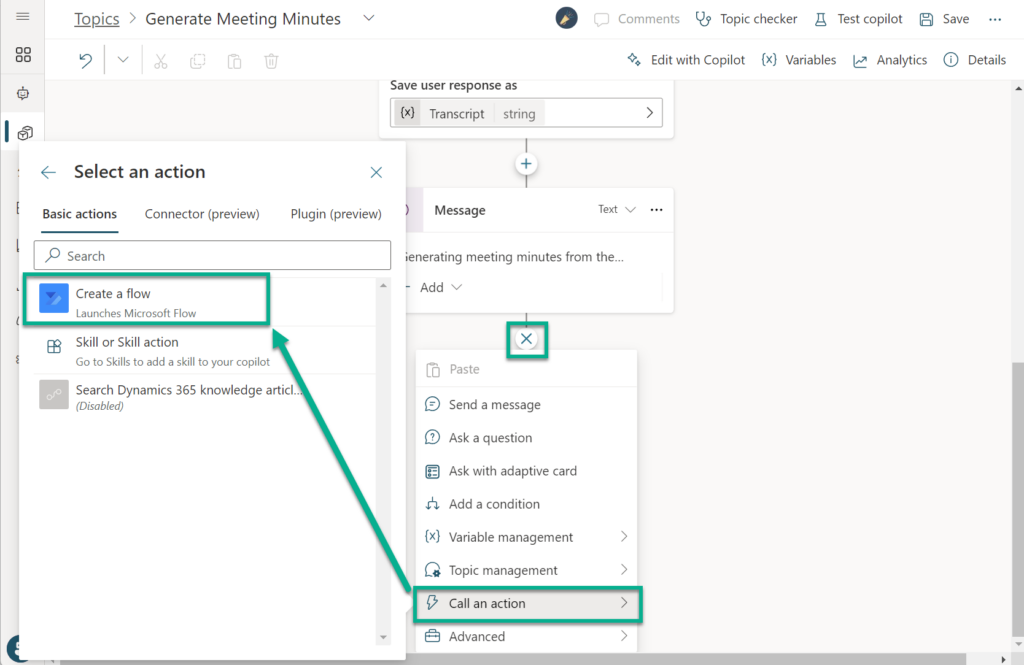
I call my new flow Generate-Meeting-Minutes:
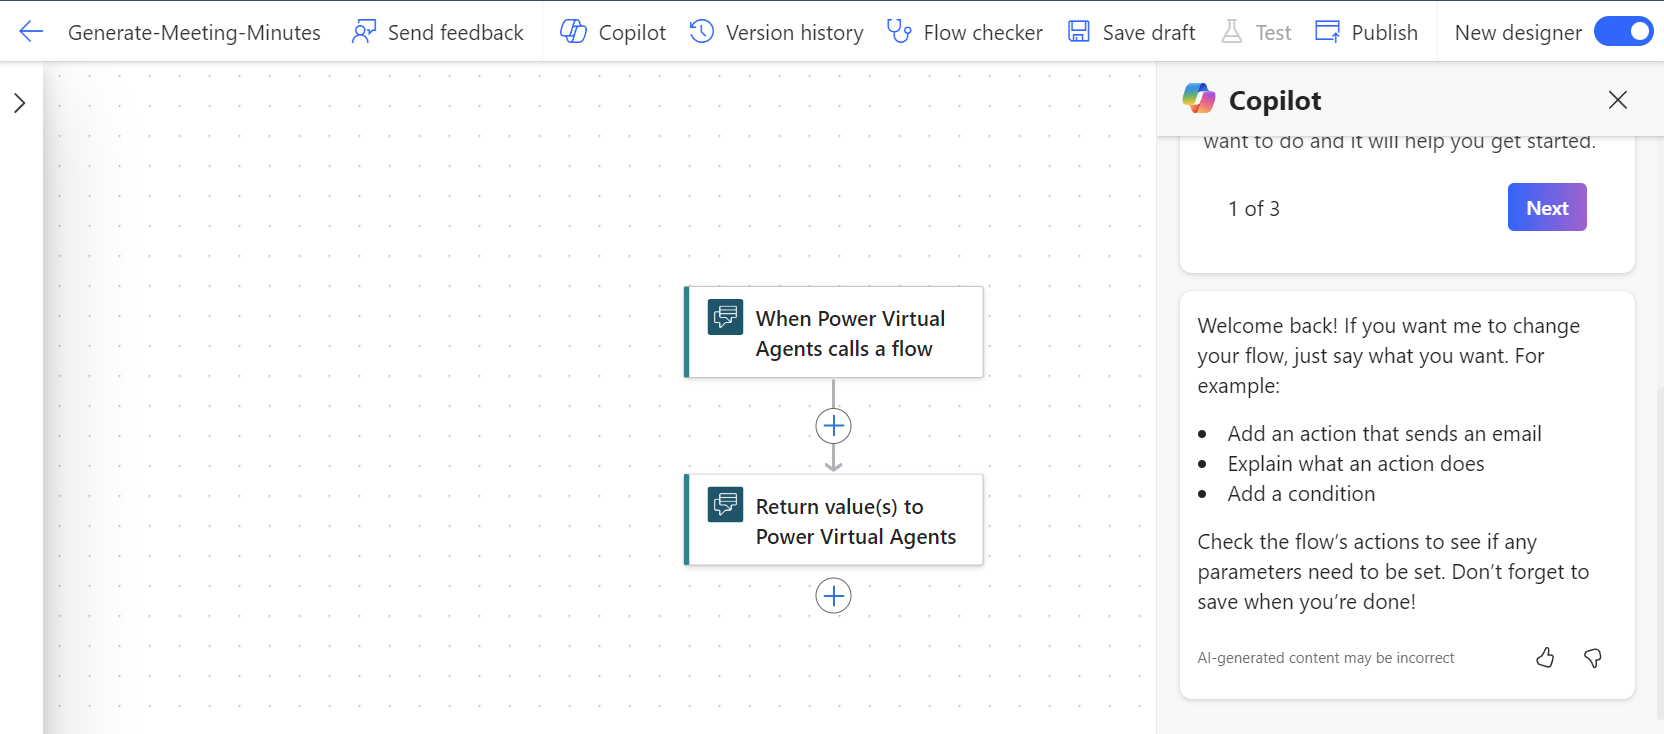
In addition, I add a parameter text to my trigger:

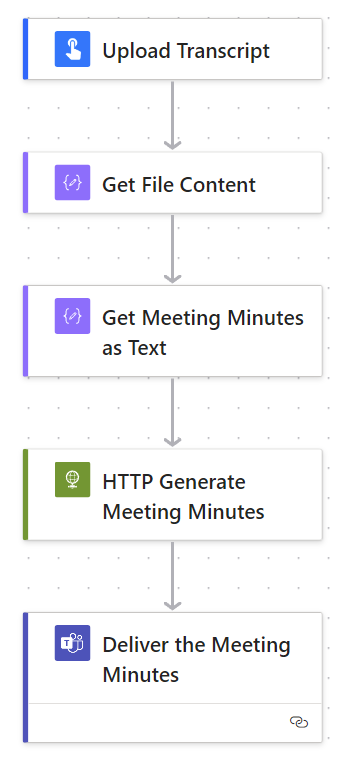
Furthermore, I add here a HTTP Action to my flow that will call my meeting minutes API:
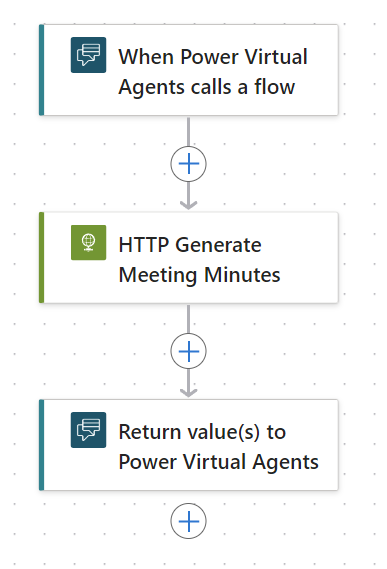
The parameters of my HTTP action are URL, my header information, and my text provided as body:

Finally, I provide the generated meeting minutes as result to my copilot:

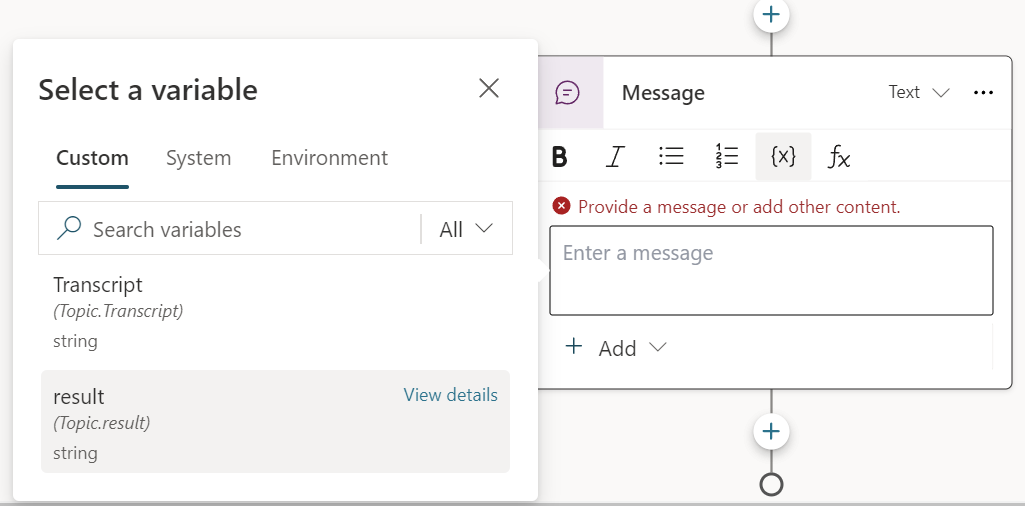
As result, my Power Automate Flow appears as a new node in my conversation flow where I add the variable Transcript as parameter text:

Finally, I return the generated meeting minutes from variable result as message to the user:
That’s it. My conversation topic is complete.
Testing my Copilot
After saving, I start testing my copilot:

Immediately, the chat opens, and I start asking the copilot to generate my meeting minutes:
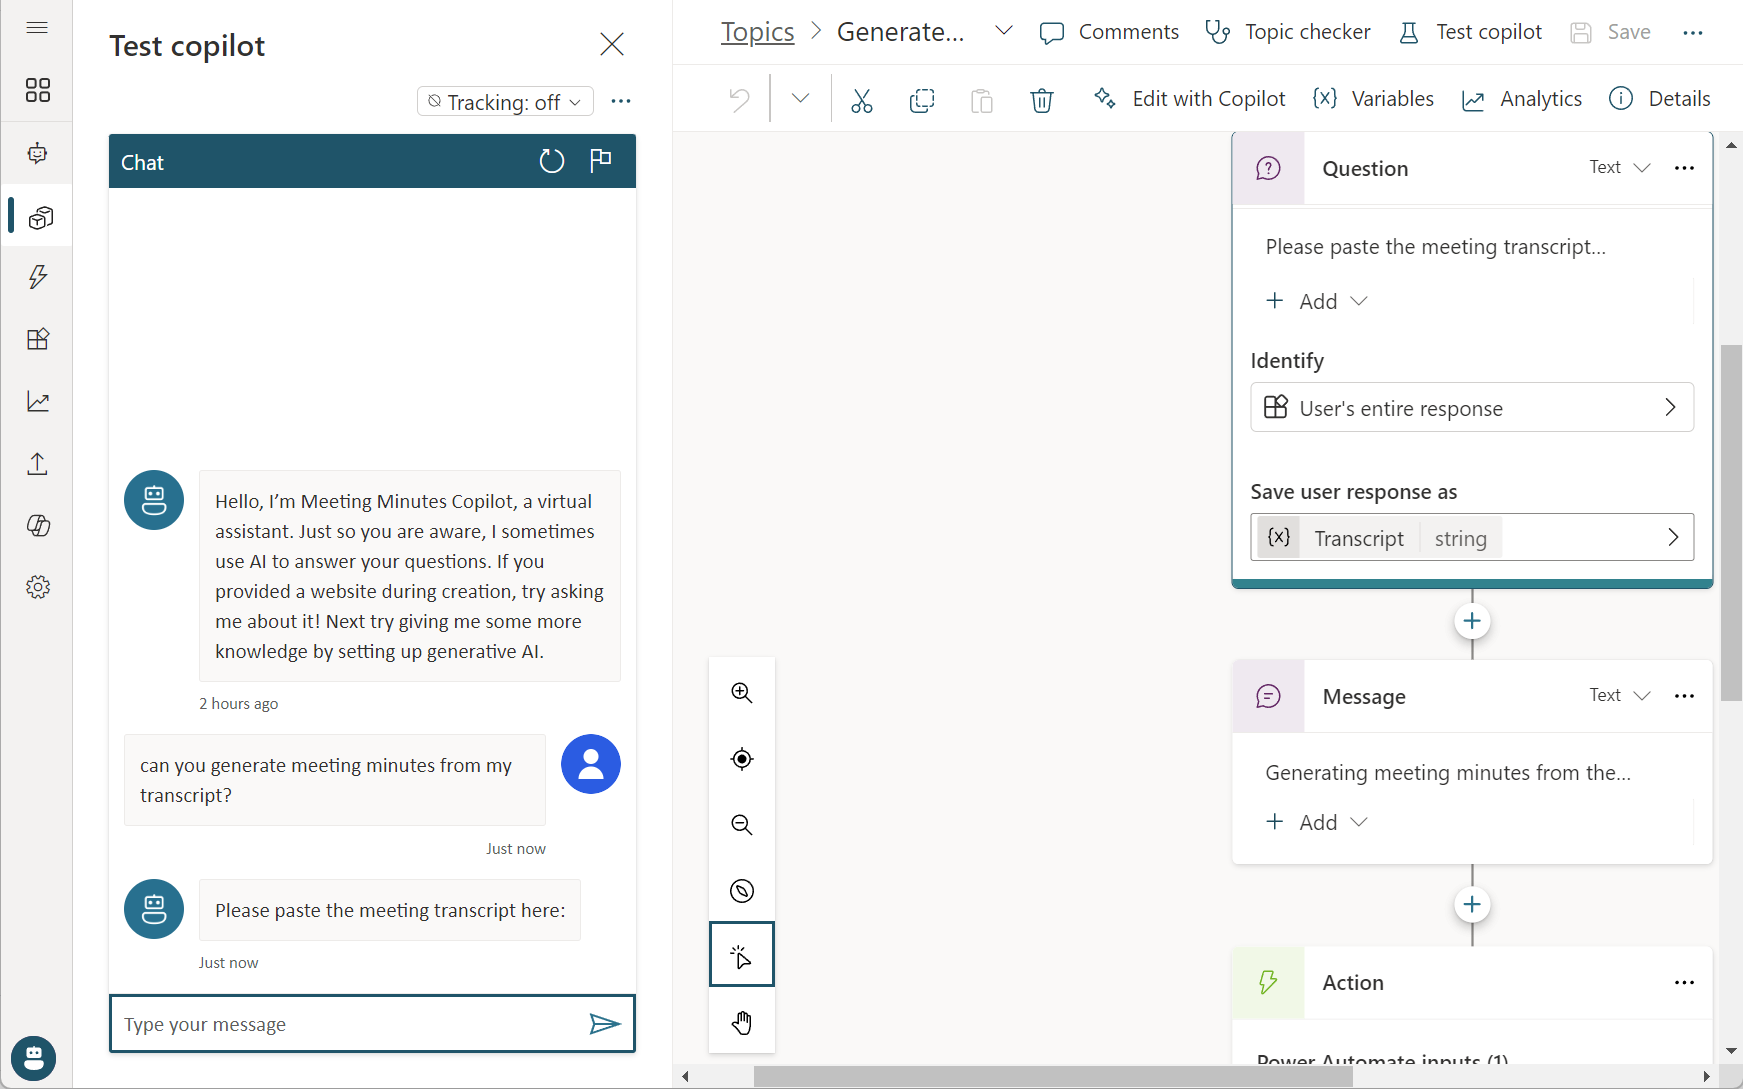
You see my copilot is working as expected:

As you also see, I can follow the conversation flow during execution:

This helps me to analyze my copilot topics and helps me to understand what happens during the conversation.
Deploy my Copilot in Teams
For this, I navigate to Publish:
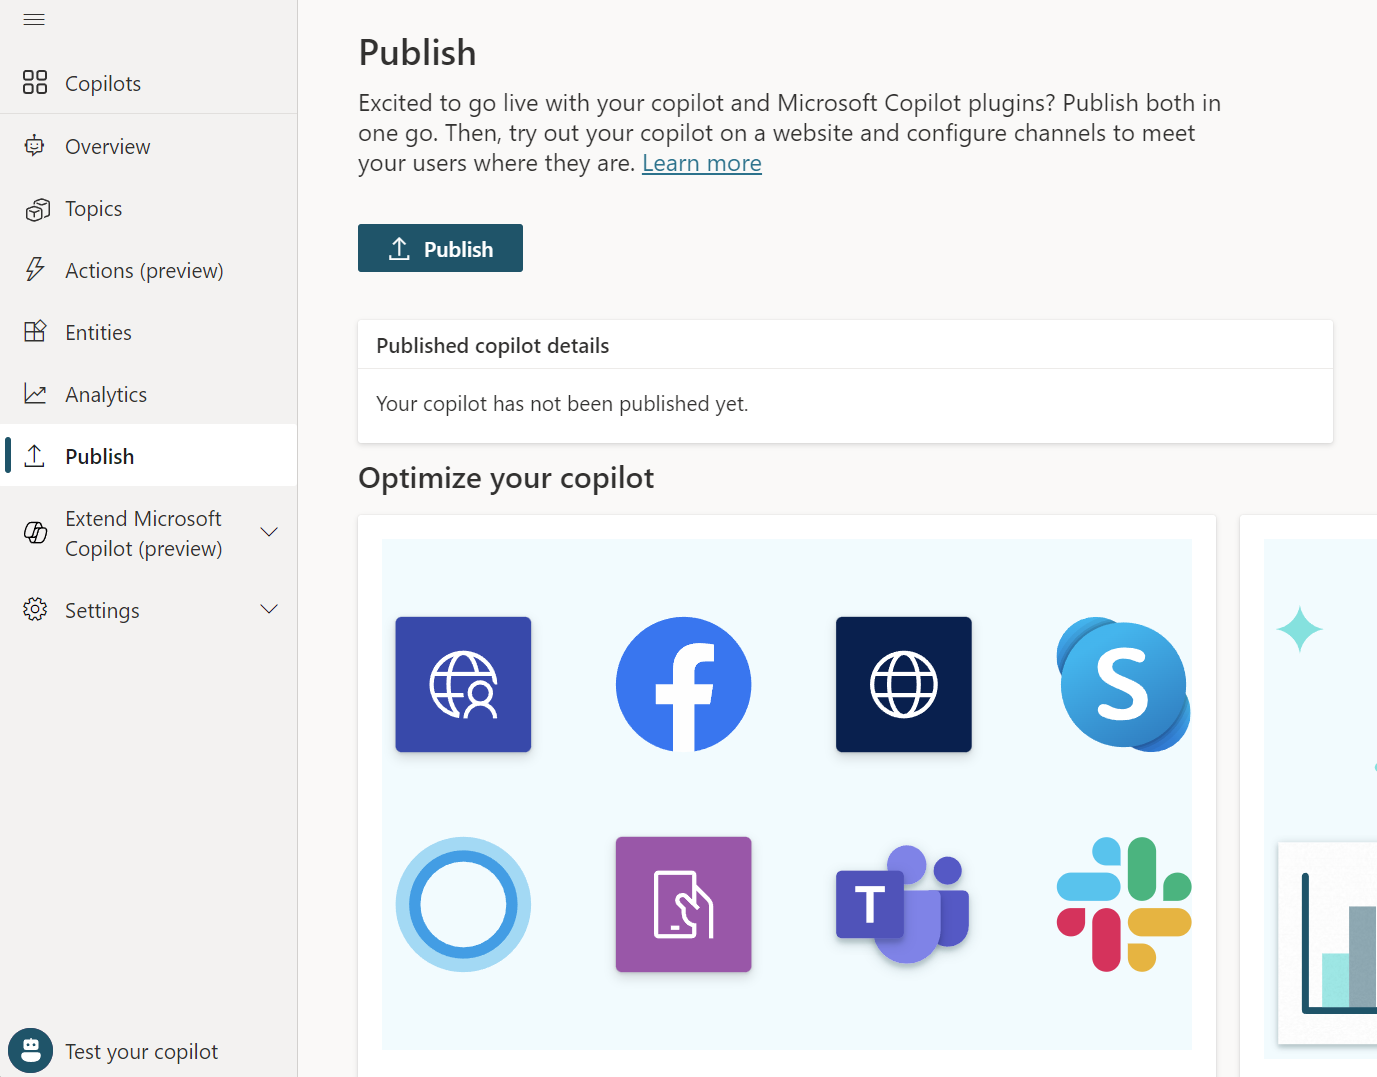
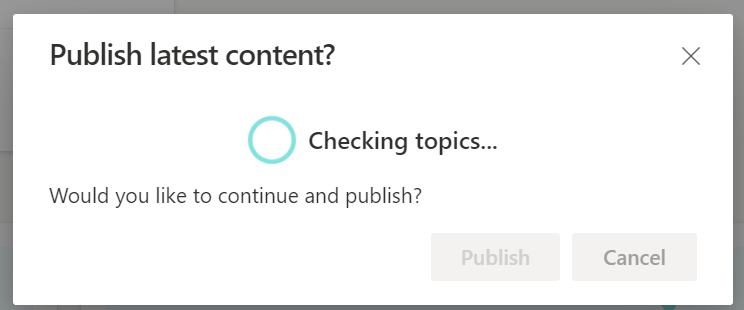
… and start publishing my copilot:
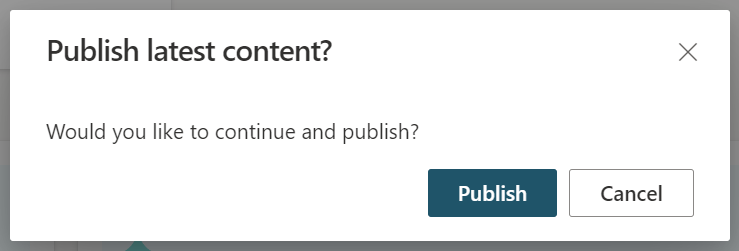
This takes a while:
Afterwards, I configure my copilot channels:
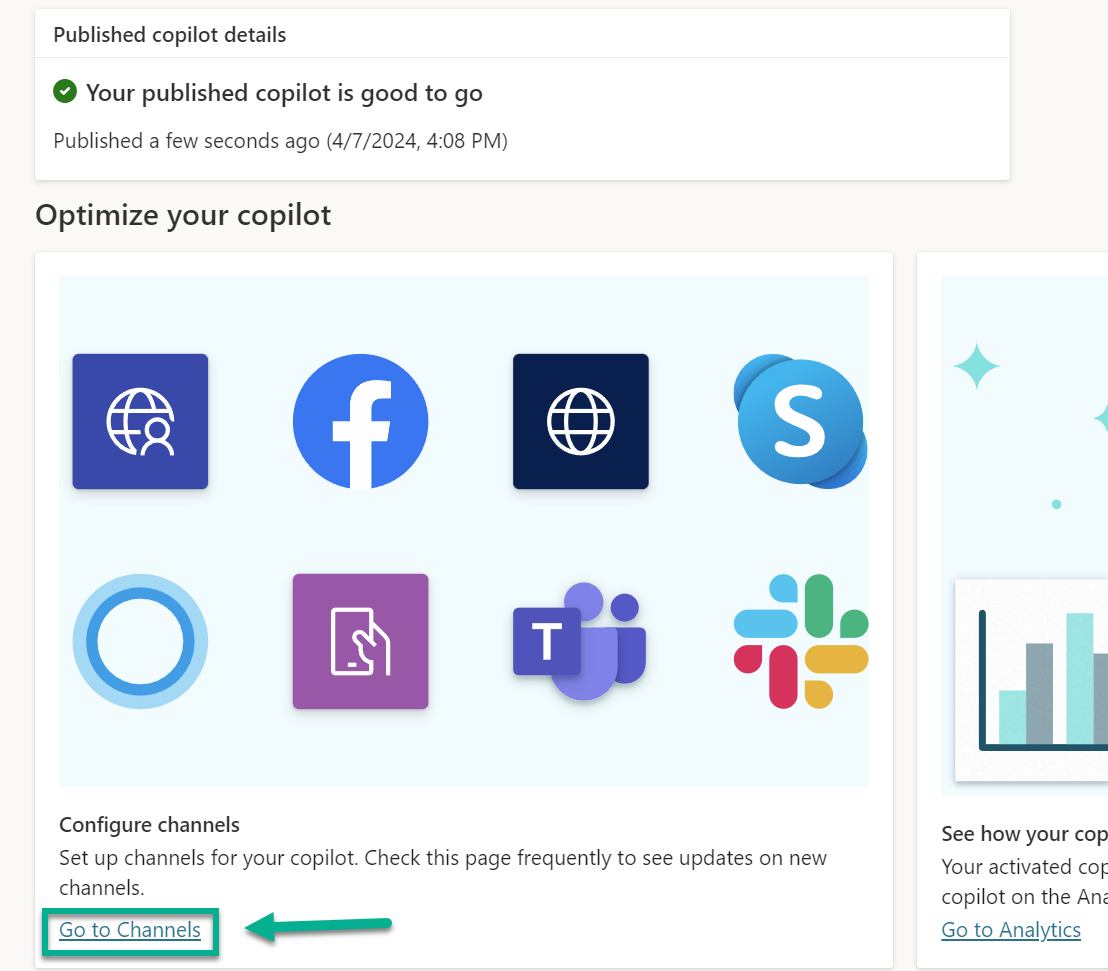
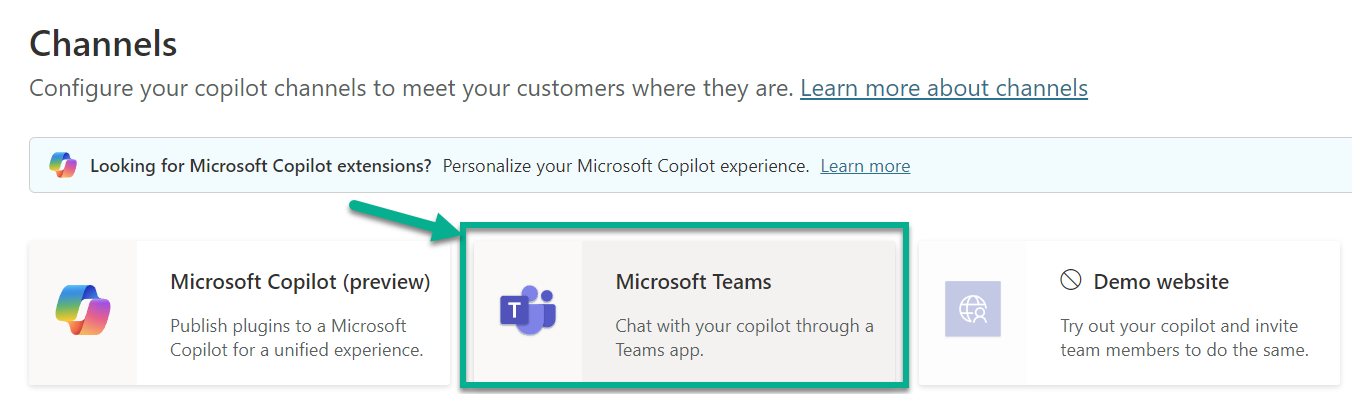
Here I select Microsoft Teams from the list of available channels:
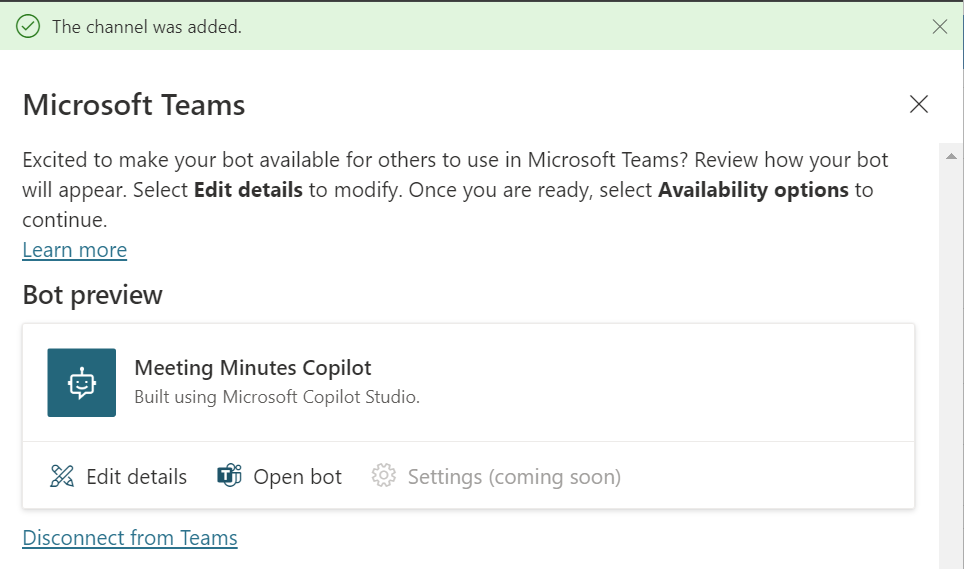
Now, I must Turn on Teams for my copilot:

This also takes a while. You see, now my copilot is ready:
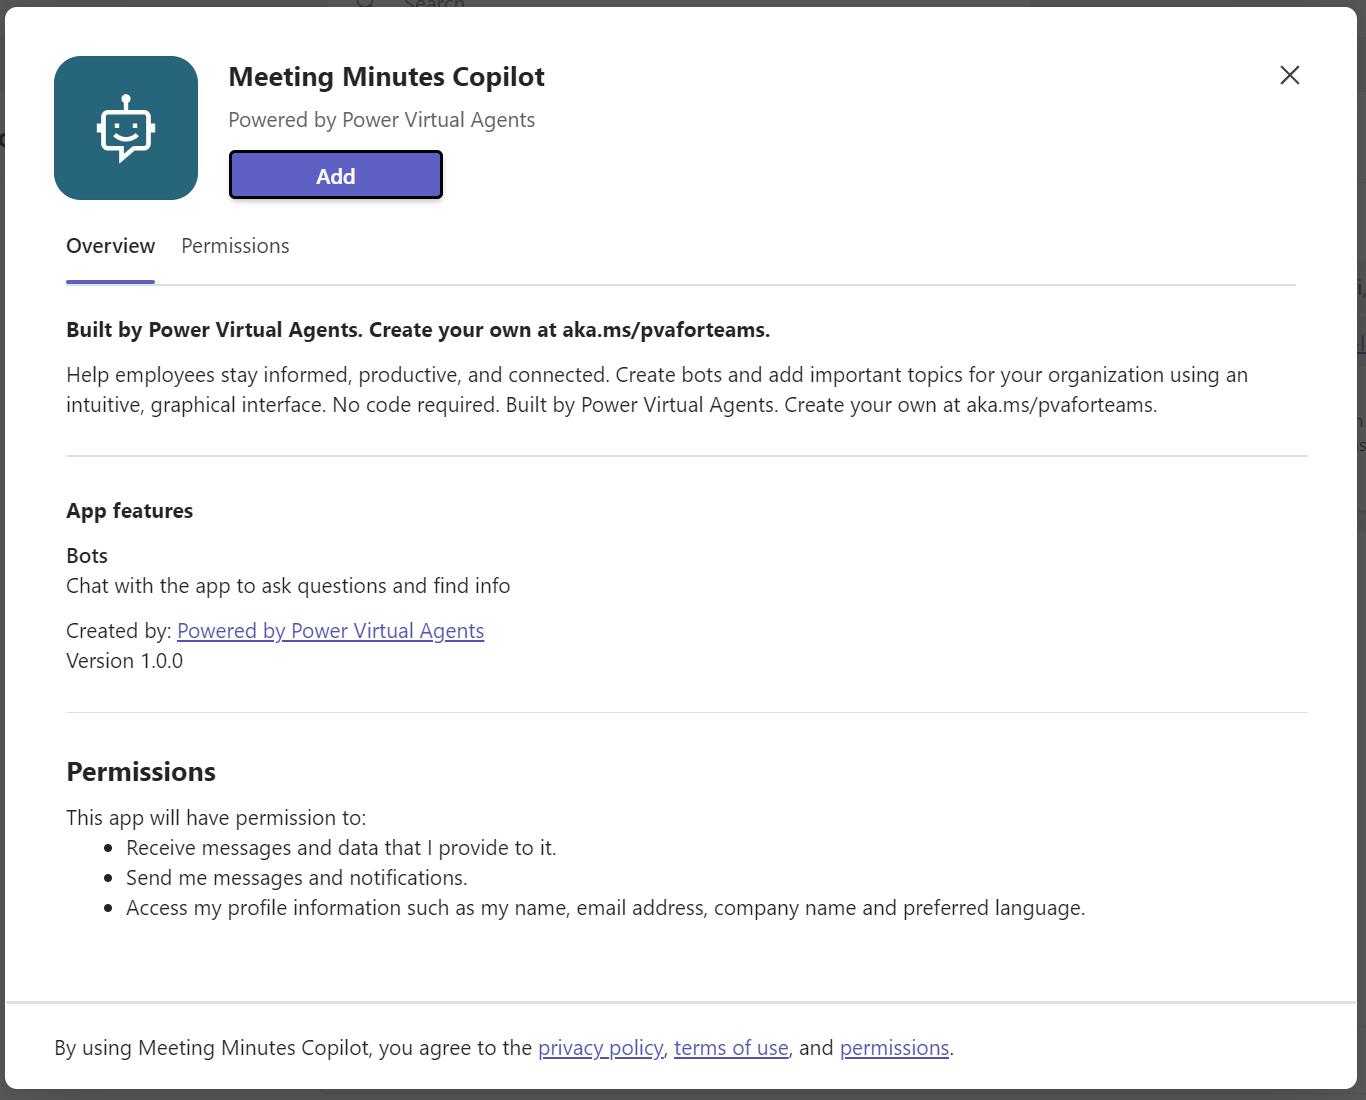
Next, I open my bot in Teams and add my Meeting Minutes Copilot as channel to my Microsoft Teams:
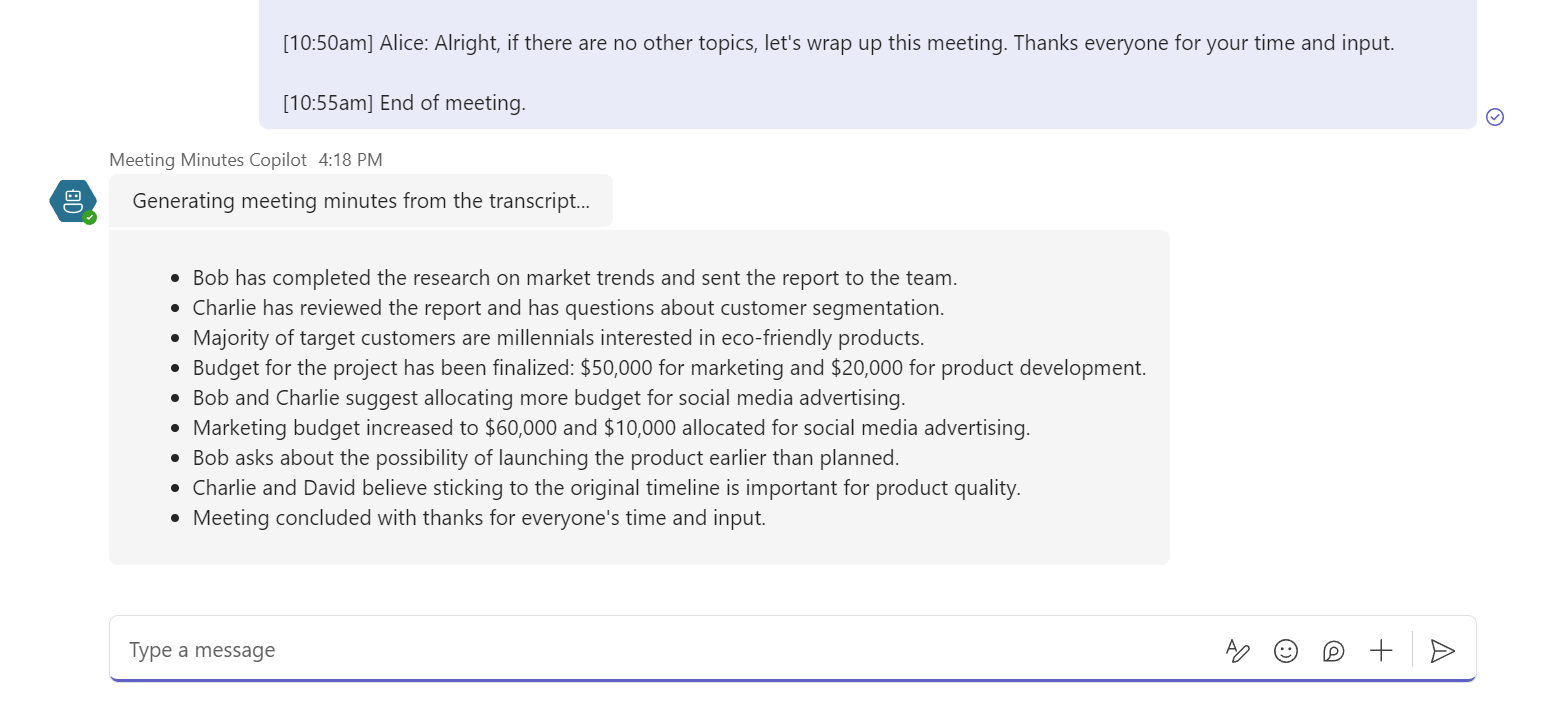
Let’s test…

…and here is the result:
My first Copilot is deployed and ready for my users!
Summary
Firstly, I created my copilot in Microsoft Copilot Studio, explaining basic concepts such as topics and actions. I then created a new topic in Copilot Studio, which generated an initial conversation flow based on my topic description. Next, I added an action to call my meeting minutes API within a Power Automate Flow and returned the result to the user in my dialog flow. Finally, I demonstrated how I tested and published my copilot, and enabled Microsoft Teams as a channel, allowing users to use my deployed copilot in Microsoft Teams.
I am very impressed with how easy it is to create a co-pilot, and I am confident that a citizen developer can create a co-pilot with the required features themselves.