
Custom Connector for Container Apps with Easy Auth Security
You may have read in my previous blog posts that I prefer deploying my APIs and AI solutions as Microsoft Containerized Apps. The reason for this is that containerized apps provide me with an ideal balance between scalability and pricing. In this post, I will explain how to enhance the security of these APIs. Specifically, I will show you how to set up – Easy Auth – which means authentication for container apps and correctly configure security in a custom connector for my Power Automate Flow.
What is a Containerized App?
Before we proceed, let me introduce you to containerized applications and provide you with some fundamental information. According to Microsoft Docs, Azure Container Apps is a serverless platform that enables you to reduce infrastructure and cut down expenses while running containerized applications. Instead of worrying about server configuration, container orchestration, and deployment details, Container Apps provides all the up-to-date server resources required to keep your applications stable and secure.
A containerized application is essentially an API packed into a Docker container, which simplifies deployment. Moreover, Docker containers provide a consistent environment for running applications. In Azure, you can use a Container App Environment to execute such container apps, which are called Containerized Apps.
Typically, I’m using Azure Container Apps to implement API endpoints or for running microservices. Moreover, I have deployed in my Meeting Minutes Service as containerized app:
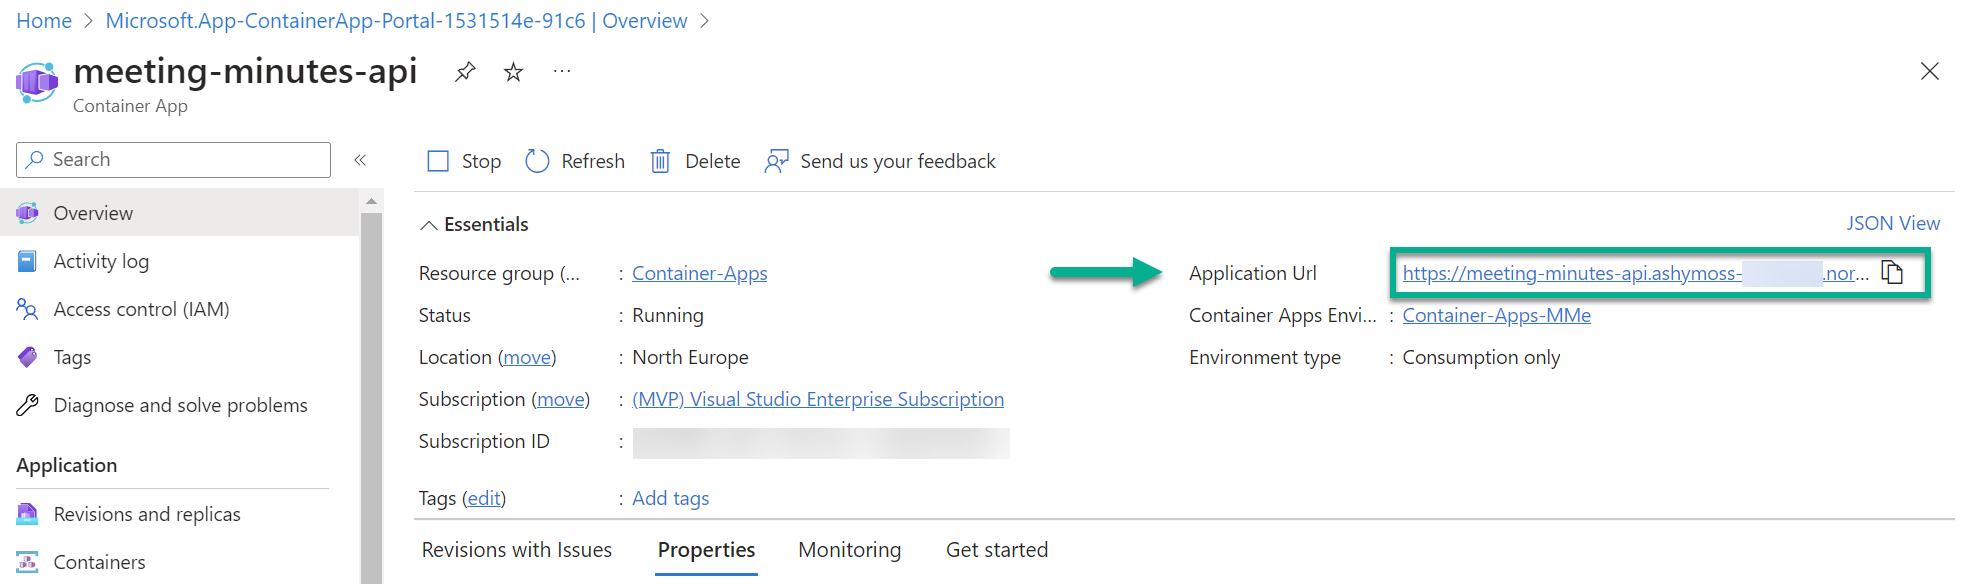
In addition, I have utilized a HTTP action in my Power Automate Flow to use my deployed API directly from calling the highlighted URL:

As you can see, I have utilized an API Key to guarantee security. This is sufficient for a demo use case like that but there is a better option.
How can I enable Authentication?
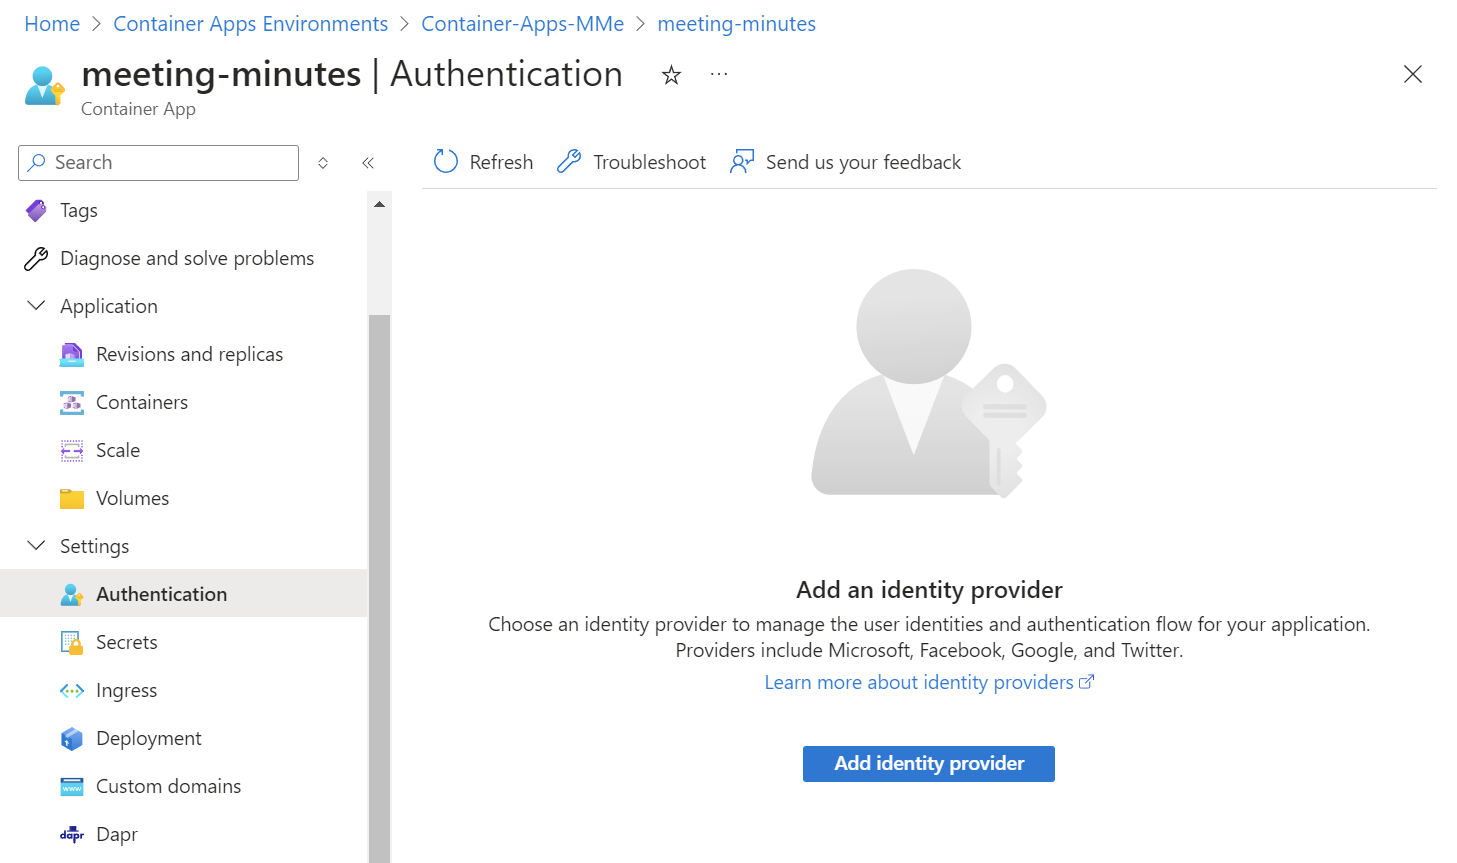
Correctly, I can use “Easy Auth” for my API! In detail, Azure Container Apps provides built-in authentication and authorization features. This means, I can choose Microsoft Entra ID as authentication provider in my app.
First, I’m navigating in Azure portal to my container app and select Settings | Authentication:
Next, I’m selecting Microsoft as my Identity provider:
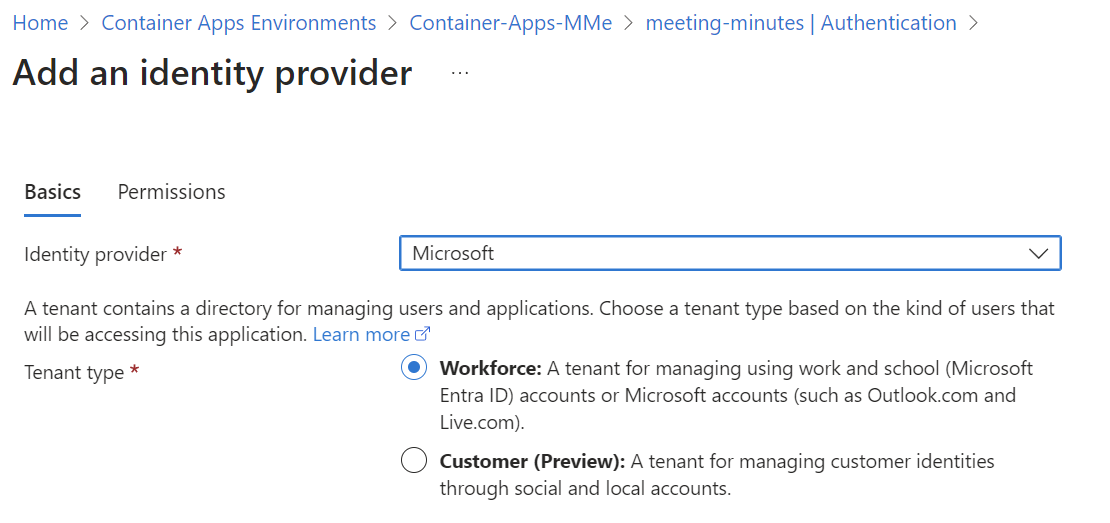
I also keep the default settings for my App registration:

I’m fine with creating a new App registration for my current tenant. Furthermore, I also keep the configuration for the Additional checks and the Container App authentication settings:
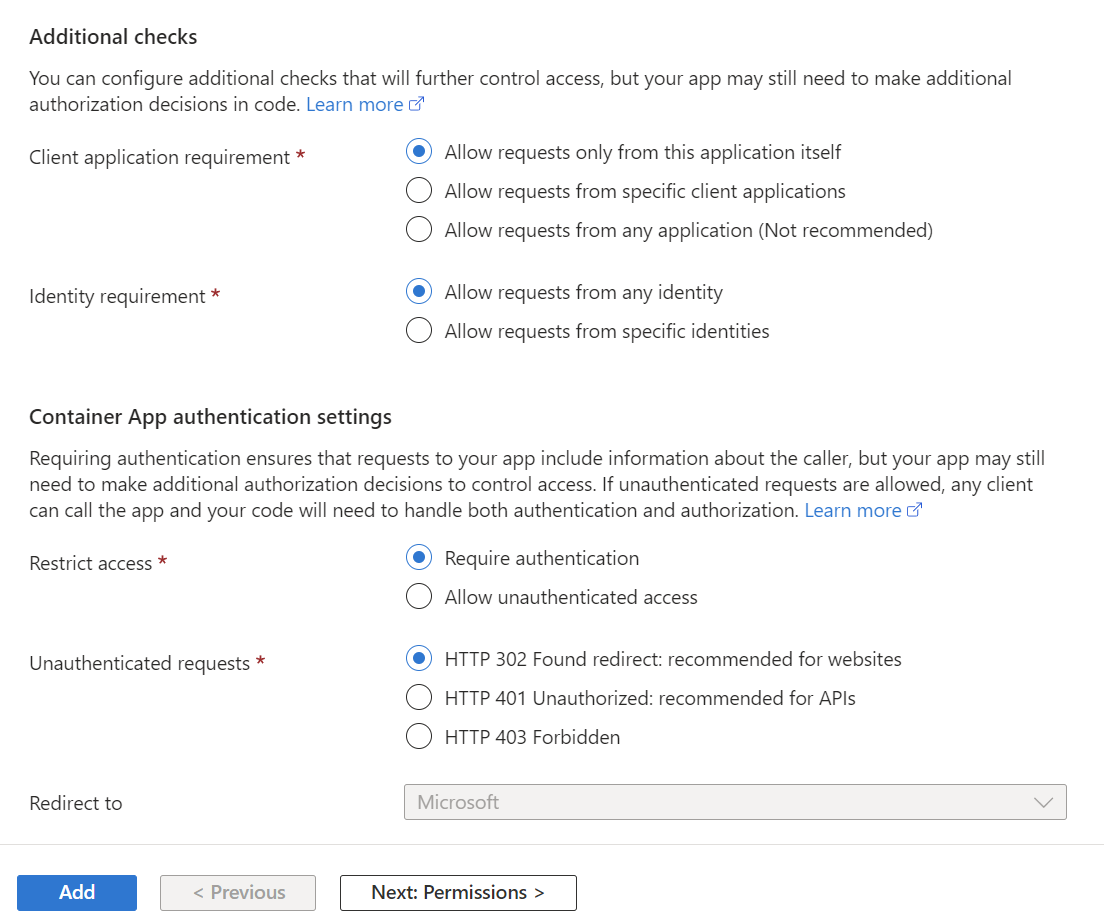
Finally, I’m pressing the Add button and this message appears:

After some seconds, I see this:
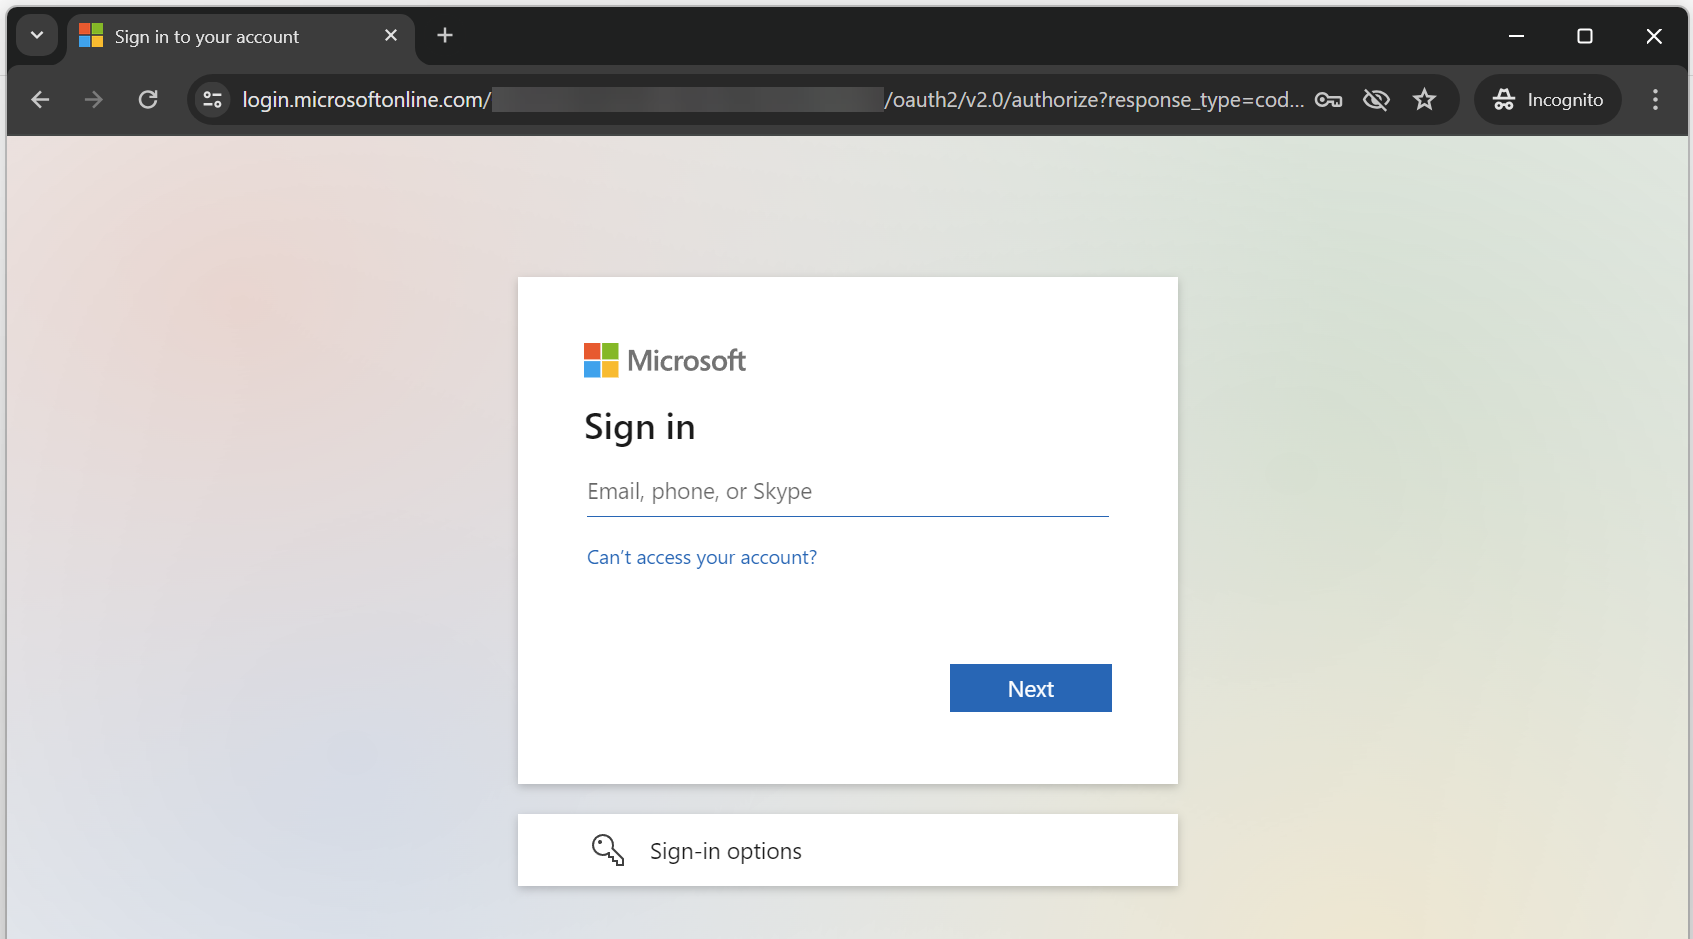
Now authentication is configured for my Container App. In consequence, I must authenticate myself before I can access the included Swagger UI of my API:
Furthermore, I must grant consent for my App registration:
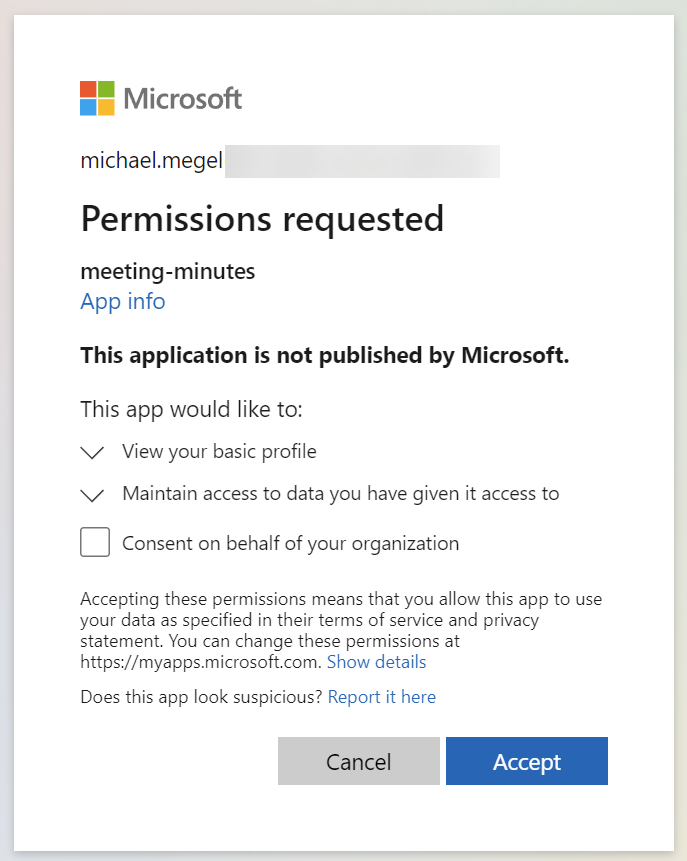
Perfect!
Create my Custom Connector
In my next step I will create a custom connector for my API. Unfortunately, the easiest way Importing the connector from the OpenAPI URL does not work:
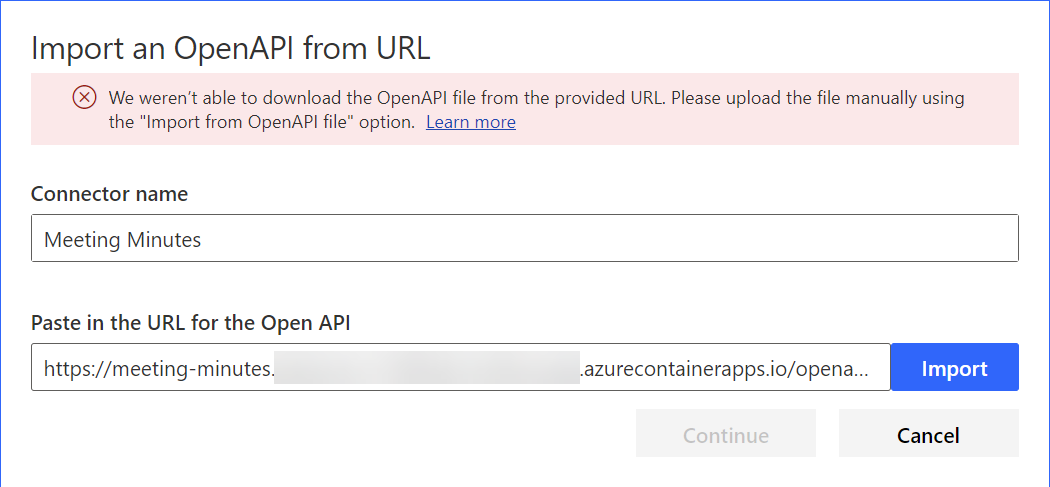
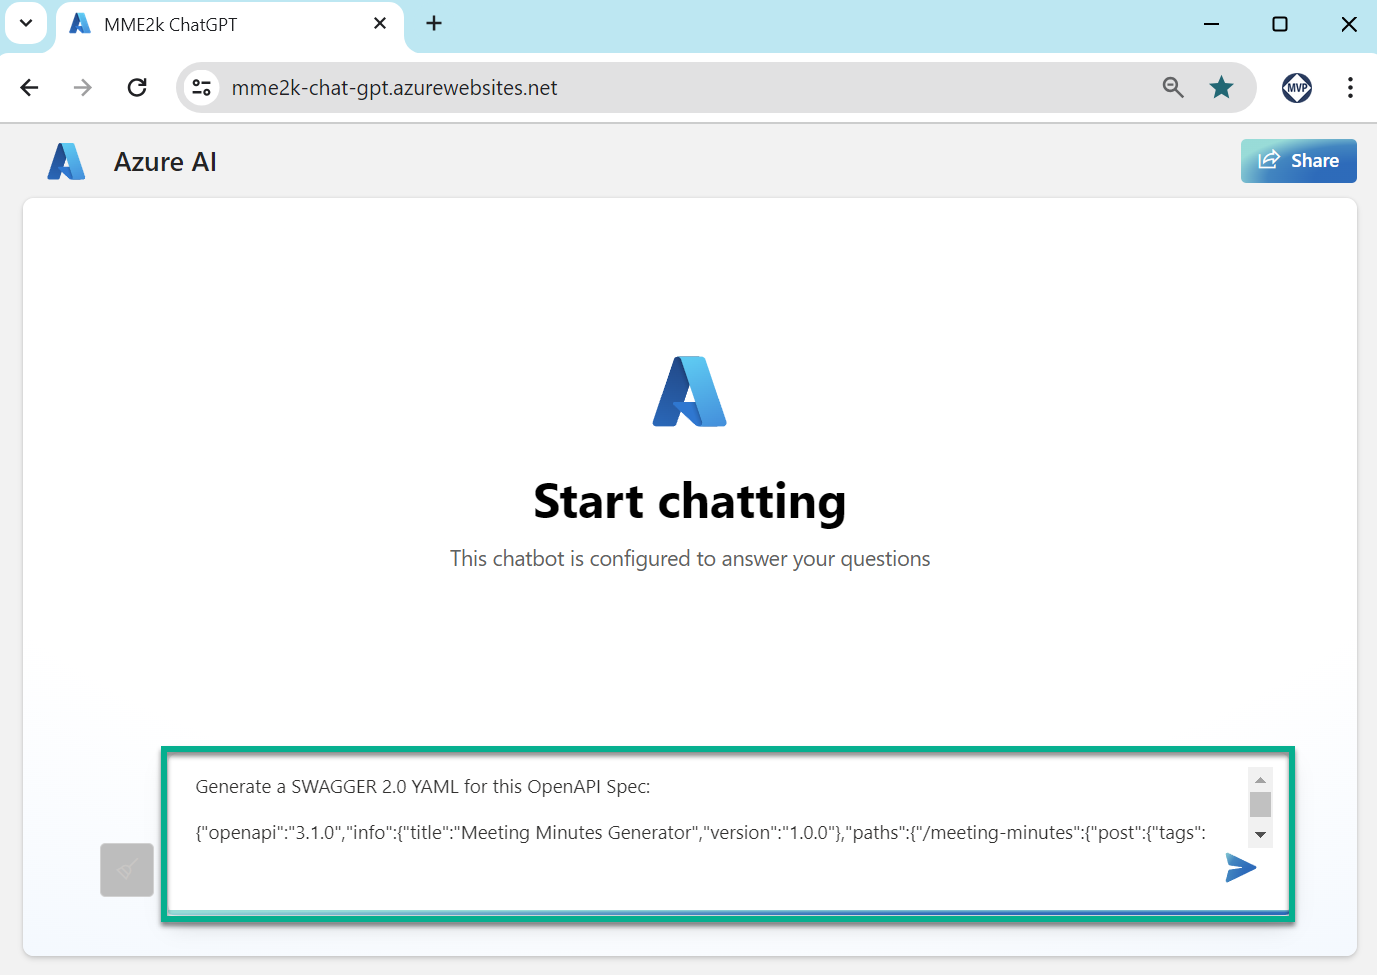
This is because Custom Connectors doesn’t support OpenAPI spec version 3.1.0. Ok, I do a simple trick. I use my Azure OpenAI chat application and convert the OpenAPI spec into Swagger 2.0 YAML:
Furthermore, I create a new connector Meeting Minutes and copy the generated YAML into the Swagger editor:
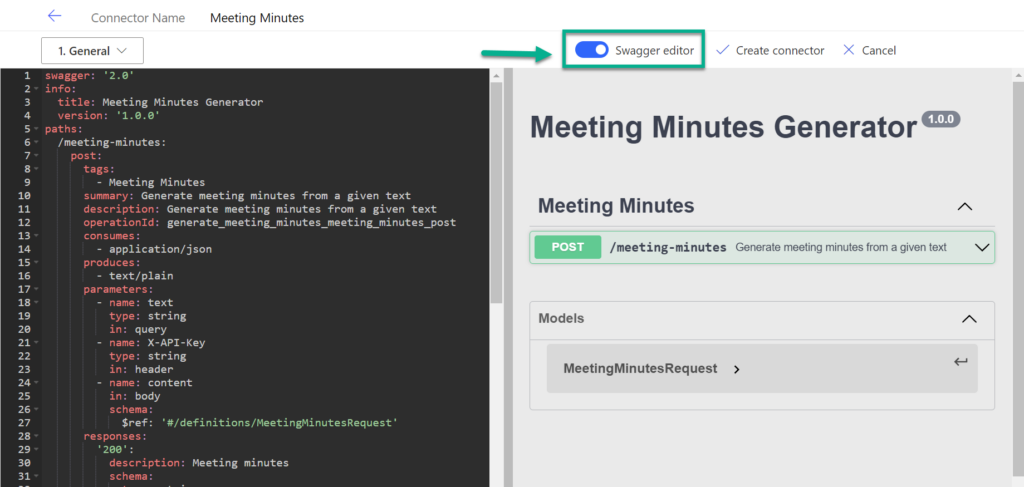
Additionally, I cleaned some minor issues. As result, I have created my custom connector.
Setup Custom Connector Security for my Container App
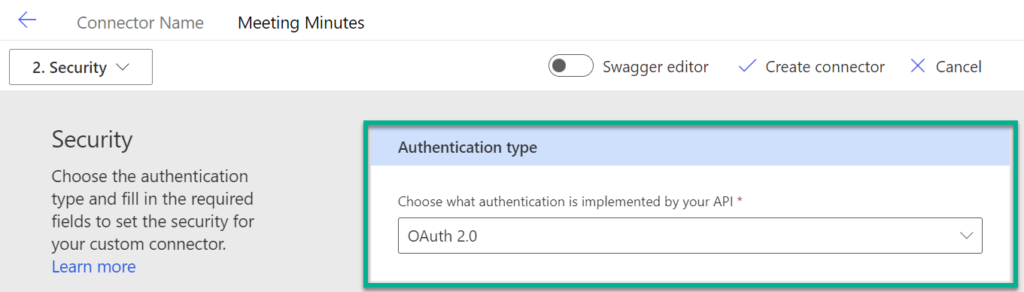
Now it’s time to configure the security. For this. I’m navigating back to the Security settings and I’m choosing OAuth 2.0:
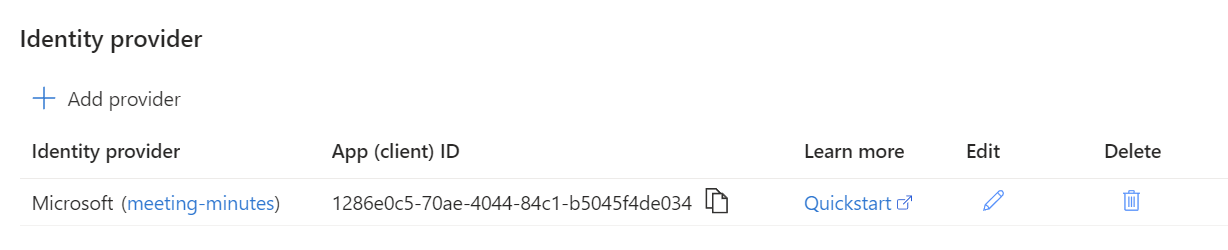
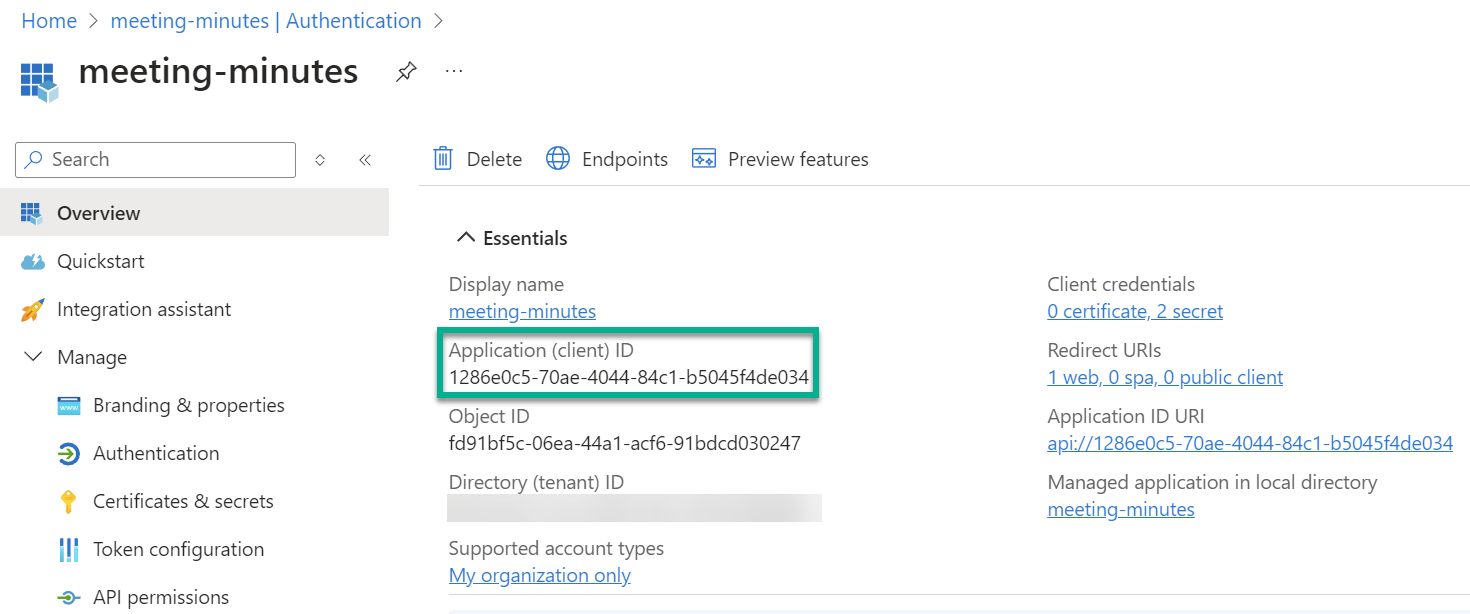
In my next step I’m switching to my App registration in the Azure portal and get my Application (client) ID:
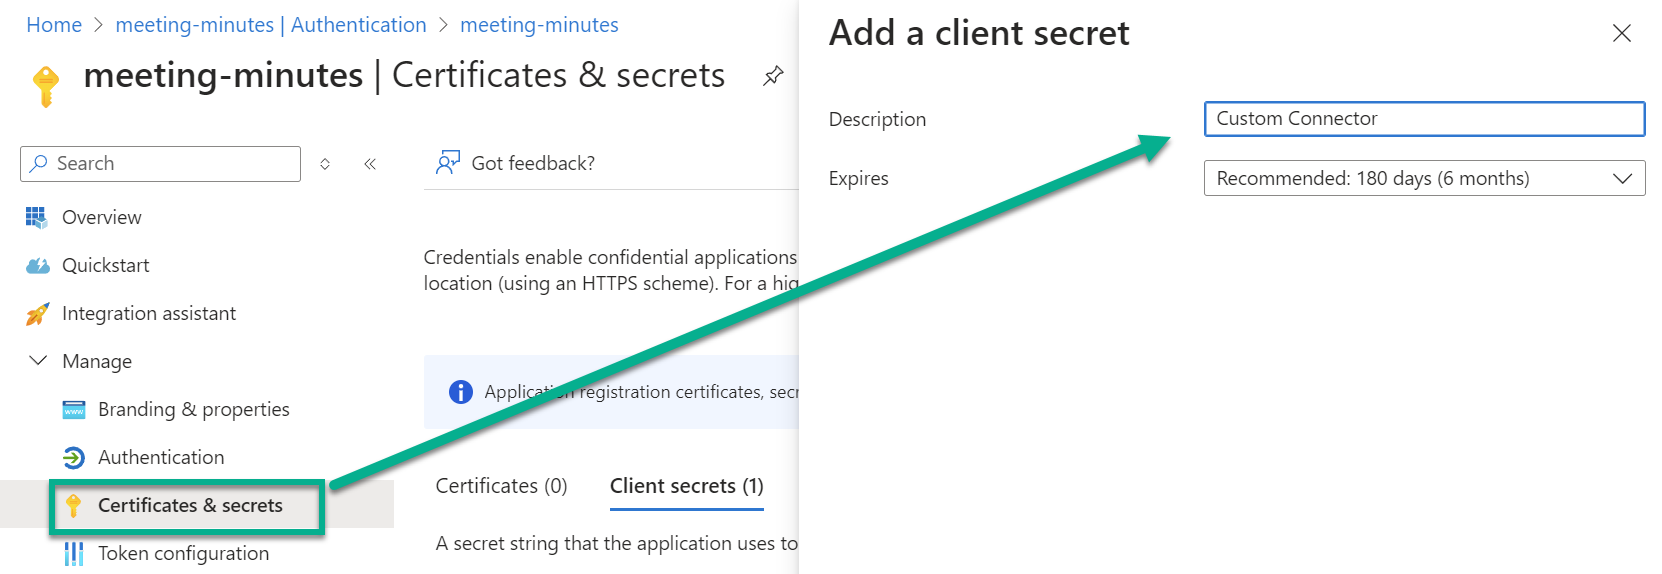
Furthermore, I’m creating a new client secret for my custom connector:
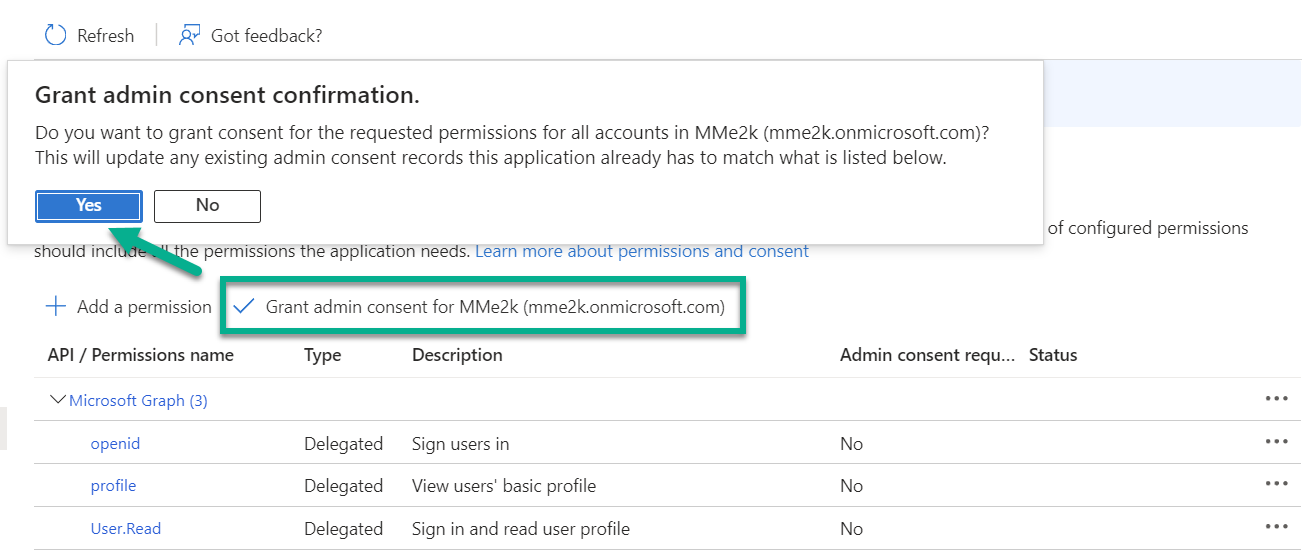
Next, I add the Microsoft Graph permissions for openid (Sign users in) and profile (View users’ basic profile):

Afterwards, I’m granting admin consent for these permissions:
Now I’m navigating back to my custom connector security settings. Here I select Azure Active Directory as Identity Provider and configure Client ID and Client secret with my collected information:

As you see from the screen shot, I’m also using the Client ID for my Resource URL. This is important because the exposed App registration is the resource that I want to access. Afterwards, I’m saving my connector. As result, my Redirect URL is generated:

Finally, I’m using this redirect URL to configure my App registration. I’m adding another Web Redirect URL:
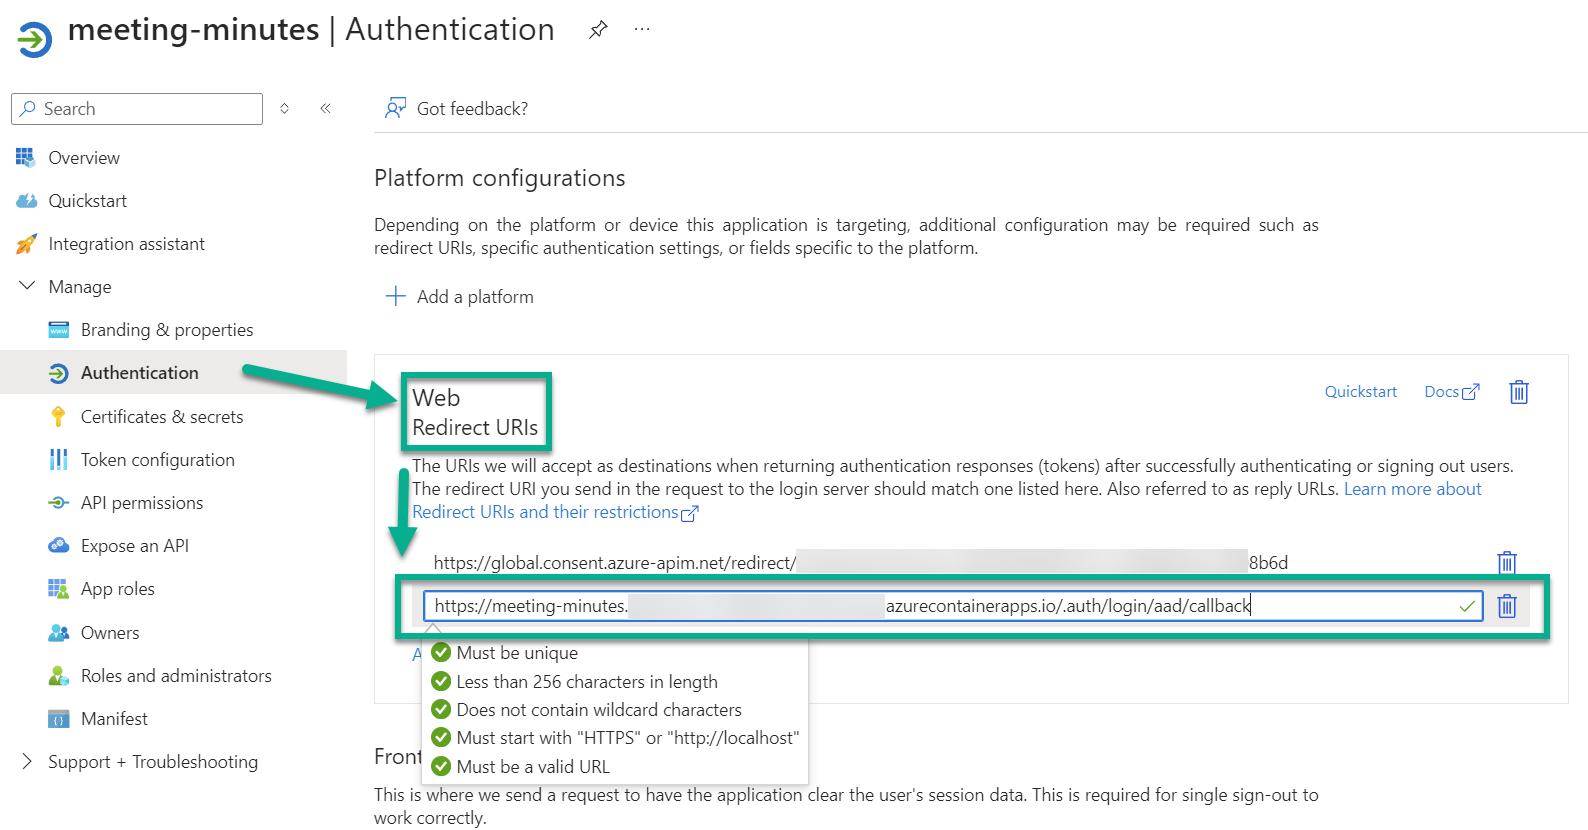
That’s all.
Testing my Custom Connector
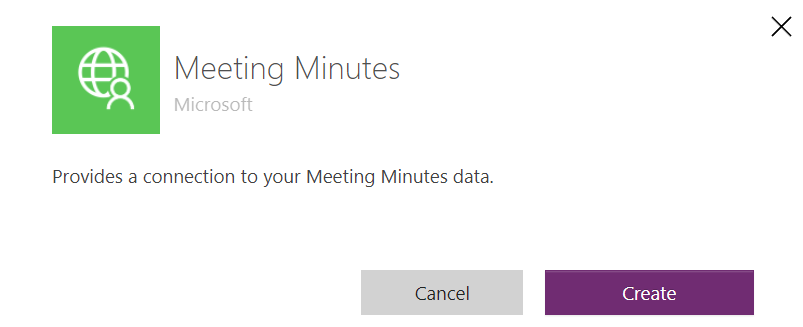
Before I can test my custom connector, I must create a New connection:
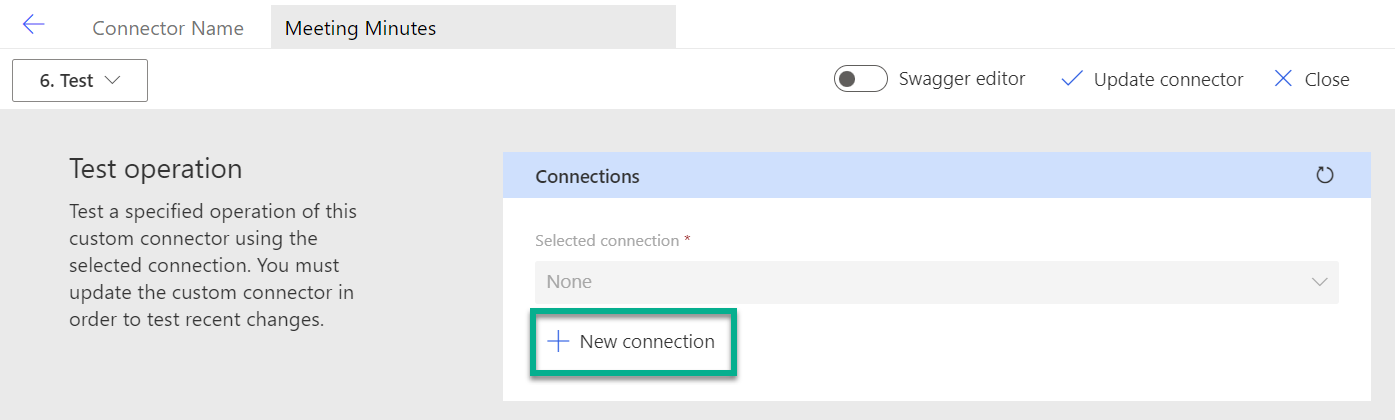
This should work when everything is configured correctly. I’m pressing Create:
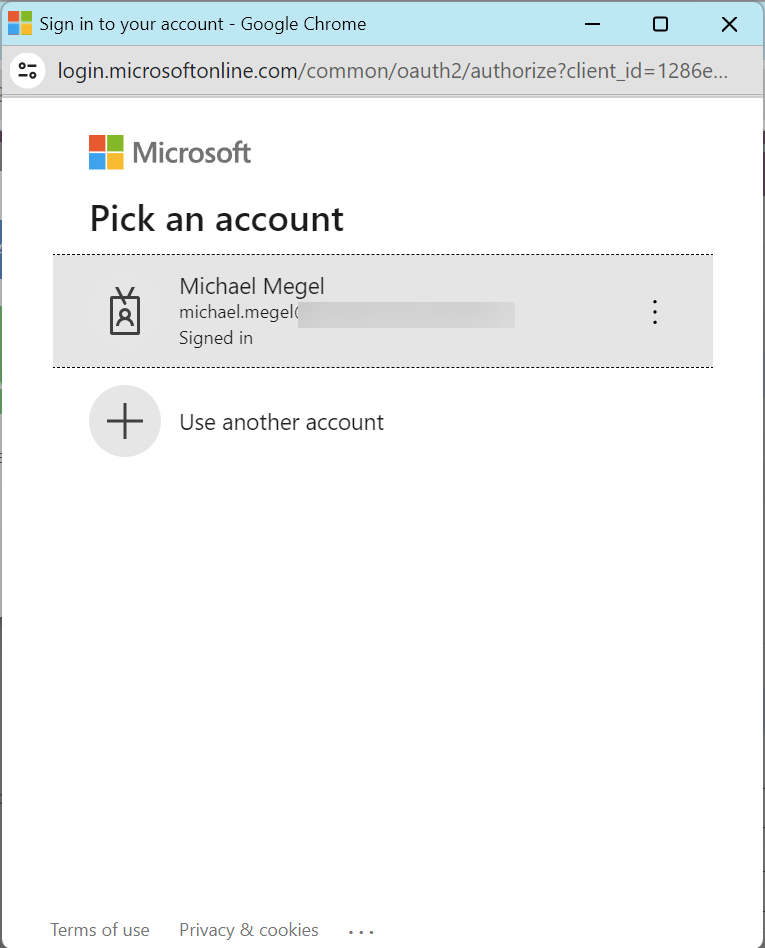
Looks good. I’m forwarded to my Azure Identity Provider and can now authenticate with my credentials:
Finally, my authentication is accepted, and I can test my operation from my custom connector:
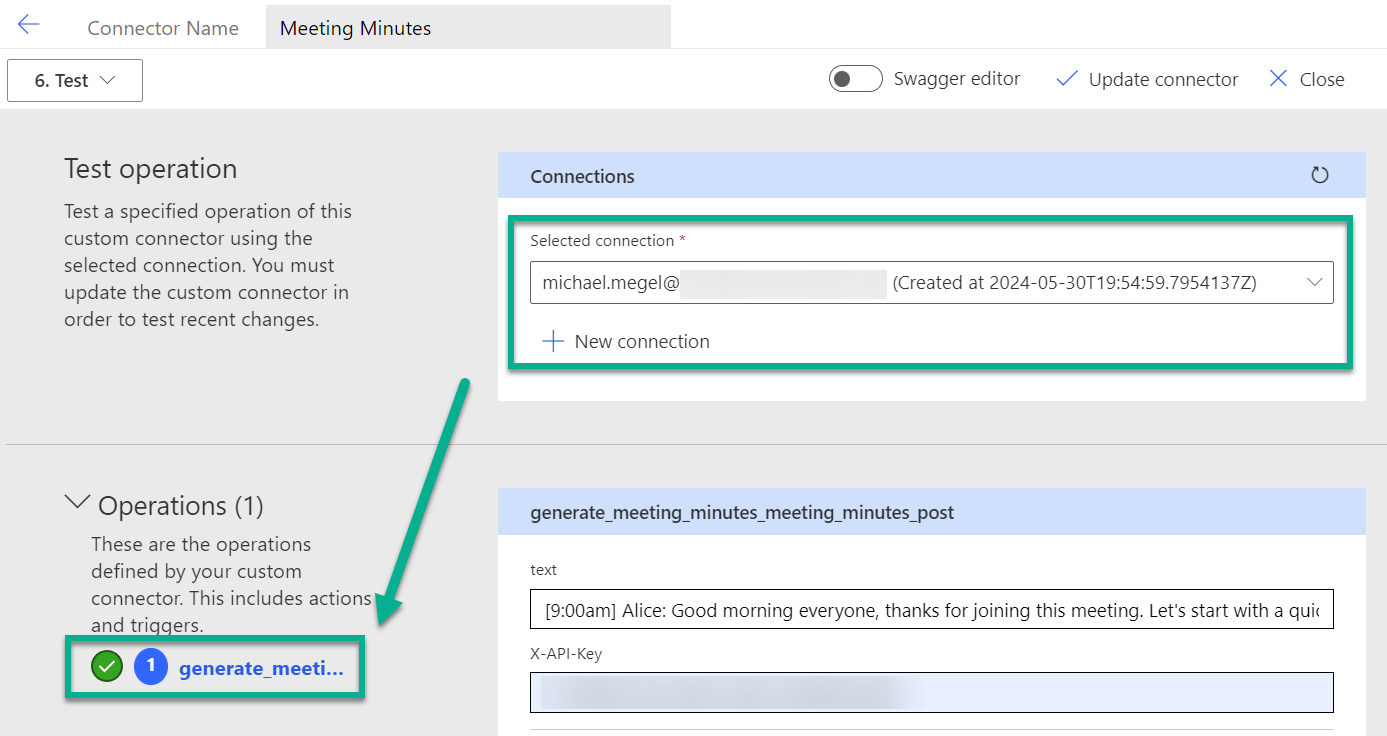
As you see, my test was successful.
Summary
Easy Auth is an amazing feature that can be set up in minutes. It provides a simple mechanism to secure APIs hosted in container apps. In detail, Easy Auth uses an App registration in Microsoft Entra ID for the container app when Microsoft Entra ID is configured as the Identity Provider. I have shown this in the first part of my blog post.
Next, I used the Client ID and Client Secret from the App registration to set up OAuth 2 in the security settings for my custom connector. Furthermore, I configured the necessary permissions and granted consent in my App registration. Once these steps were completed, I added the generated redirect URL from the custom connector to my App registration. Finally, I created a connection and tested my connector.
Overall, the process is simple and easy to follow. Easy Auth for container apps is a huge benefit for developers as it provides out-of-the-box security directly from the hosting environment.