Agents, Agent- and Deployment Pools – CI / CD Part 3

Artifacts and Deployment Stages and Controlling the Artifact Flow should be clear. It’s time to see what Azure DevOps provide to deploy Artifact(s) into target environment(s).
Two scenarios must be covered: SaaS and OnPrem. Both uses the same install base of Dynamics 365 Business Central, but are different in your access rights.
Dynamics 365 Business Central – SaaS
Here Release Artifact(s) (e.g. per-tenant App) must be deployed into your SaaS environment, your Microsoft Dynamics 365 Business Central tenant – hosted by Microsoft:
- BC Sandbox (Microsoft SaaS offering) … User Acceptance Stage
- BC Production Tenant (Microsoft SaaS offering) … Production Stage
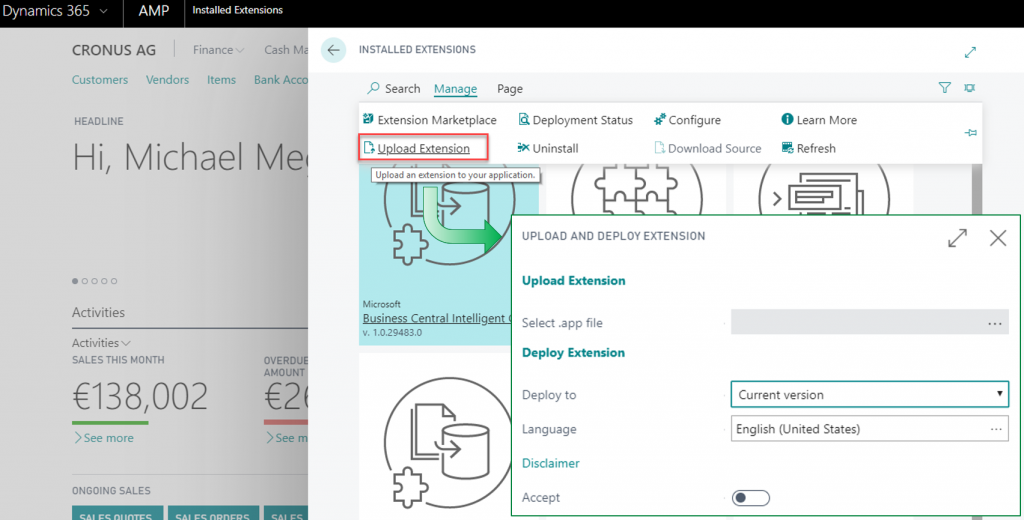
Microsoft Dynamics 365 BC SaaS offers 2 ways to “upload and install per-tenant extensions” (Apps). You can use either an API to do this automated or the “Extension Management” to do this manually at your tenant.
Dynamics 365 Business Central – OnPrem
OnPrem allows access to the local environment. Release Artifact(s) must be deployed for:
- Test Environment (NST + Database, Self-Hosted) … User Acceptance Stage
- Production Environment (NST + Database, Self-Hosted) … Production Stage
PowerShell commands from Microsoft’s App-Management Tools (Microsoft.Dynamics.Nav.Apps.Management) helps to install your per-tenant app(s) direct at the NST.
In case of OnPrem it doesn’t matter if you host your environment as cloud VM + NST + Azure SQL DB or classic at your hardware in your local facility with VM + NST + MS SQL Server DB. You have access to the local environment.
Automate your Deployment
Manual deployment today is not an option! Use Azure DevOps and organize the needed workflow tasks for an Agent and let him do this work for you.
Azure DevOps “Agent(s)” can run as a local service on a target environment. When the Agent starte, he connects to Azure DevOps and wait for commands. [more details]
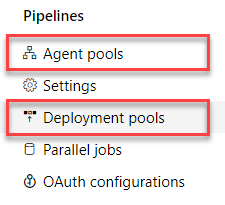
Depending on the installation parameters, the agent is either installed in an Agent Pool or in a Deployment Pool. [Self-Hosted Agents]
Agent Pools
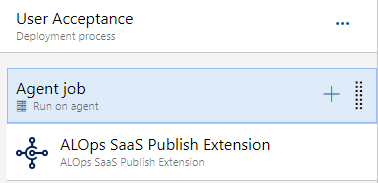
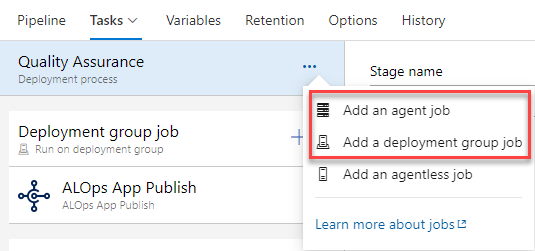
Agent Pools are normally used by CI pipelines. Deployment Task(s) must be added to Agent Jobs and are executed at any Agent of the selected Pool.
This may be a problem for On-Prem deployment, when you want to deploy the Release Artifact to a specific NST. You are not able to specify which agent you will execute the task(s) – except there is only one agent in your pool.
For SaaS deployment it’s unimportant. You just need any Agent to execute some tasks or API calls.
After creating an Agent Pool, you can download the program. Extract the Zip into a local folder on the target machine and install / configure the Agent. [install parameters]
Deployment Pools / Groups
Deployment Pools are located at the Azure DevOps Organization. Deployment Groups are Project specific. Additional parameters helps to register the Agent at the right Deployment Pool, Group and Project. [install parameters]
Deployment Group Jobs specify the target environment(s) and execute tasks to deploy the Release Artifact.
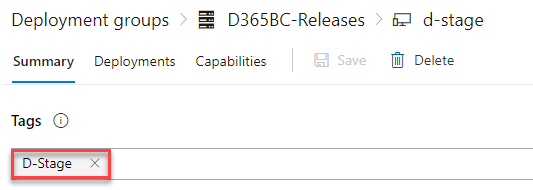
Deployment Group Tags mark Agents during installation or later at the Deployment Group of your project:
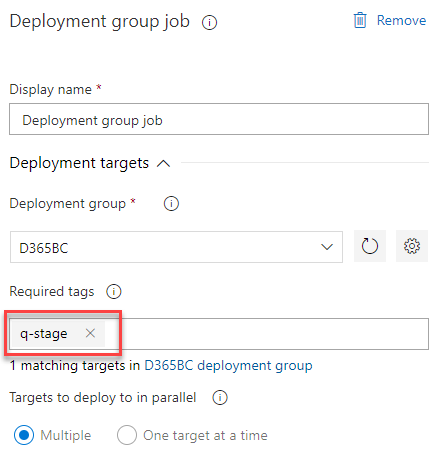
Normally a deployment group job execute the added tasks on all registered agents. A good combination of Agent Tag(s) help you to filter the deployment targets:
Tagging and filtering is especially in enterprise scenarios with lots of environments / deployment targets (W1, DE, FR, UK, BG, …) useful. The right targets are identified by combining tags like [“U-Stage”, “W1”, “DE”], [“U-Stage”, “W1”, “FR”], and so on.
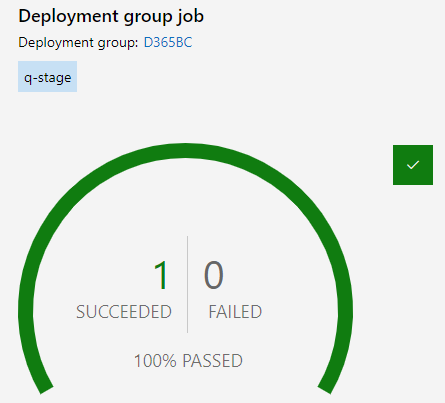
During execution you are able to see live logs and the result for each filtered deployment agent:
What’s next
I’ll continue soon… With some details about useful tasks for deployment stages.

One thought on “Agents, Agent- and Deployment Pools – CI / CD Part 3”
do you have othere reference?
Comments are closed.