
Development with AWS Cloud9
I write code wherever I am. This is too good to be true, isn’t it? So, all I need is a browser and a development environment. I could use an Azure Virtual Machine with remote desktop, but mostly there can be limitations on a local machine to do this. However, I discovered recently AWS Cloud9 in a workshop and was surprised in a positive way.
The AWS offering says that AWS Cloud9 provides numerous benefits for developers. It allows you to write, run, and debug code using just a browser, eliminating the need for a local IDE. Additionally, Cloud9 enables real-time collaboration, making it easy to share your development environment with team members, work together on code, and communicate through instant chat.
Let’s try to find out if I can compile and test one of my recently featured projects! I’m using my GraphViz microservice for Power Platform. Let’s see if Cloud9 is an option for me to write and test code…
Setup Cloud9 Environment
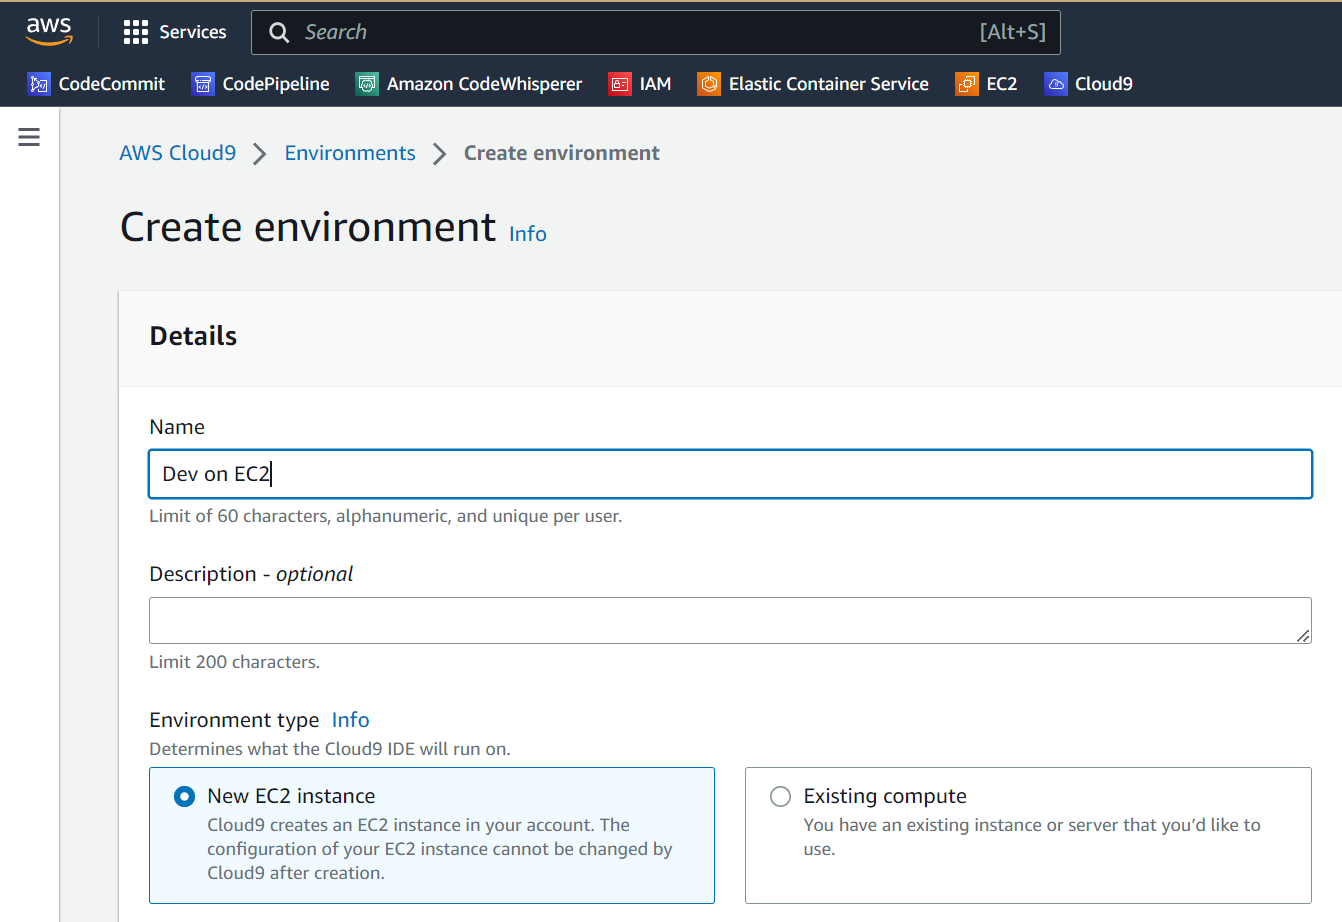
First, let me create a new AWS Cloud9 environment in my AWS Console. I specify a name for my environment and create or select a compute instance. New EC2 instance, is here preselected. This makes sense to me, because right now I don’t have any compute instances in my AWS account.
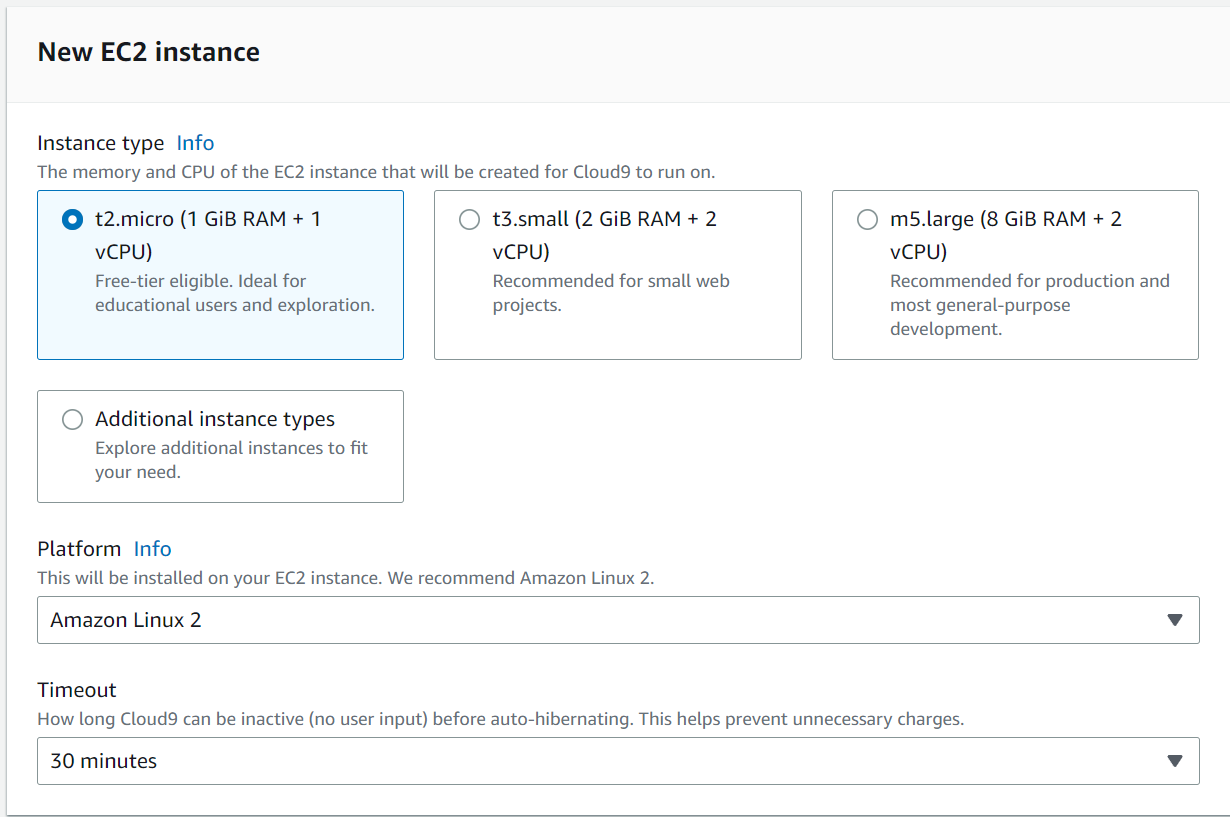
Afterwards, I can select my preferred instance type. I go again with the recommended type. For this, I selected t2.micro. A benefit of this instance type is it eligible as Free-tier. Furthermore, the Timeout ensures that my environment based on my EC2 instance is torn down after 30 minutes of inactivity. This also helps to save money.
Finally, I modify here my Network settings and VPC settings. However, I can skip this for my purpose.
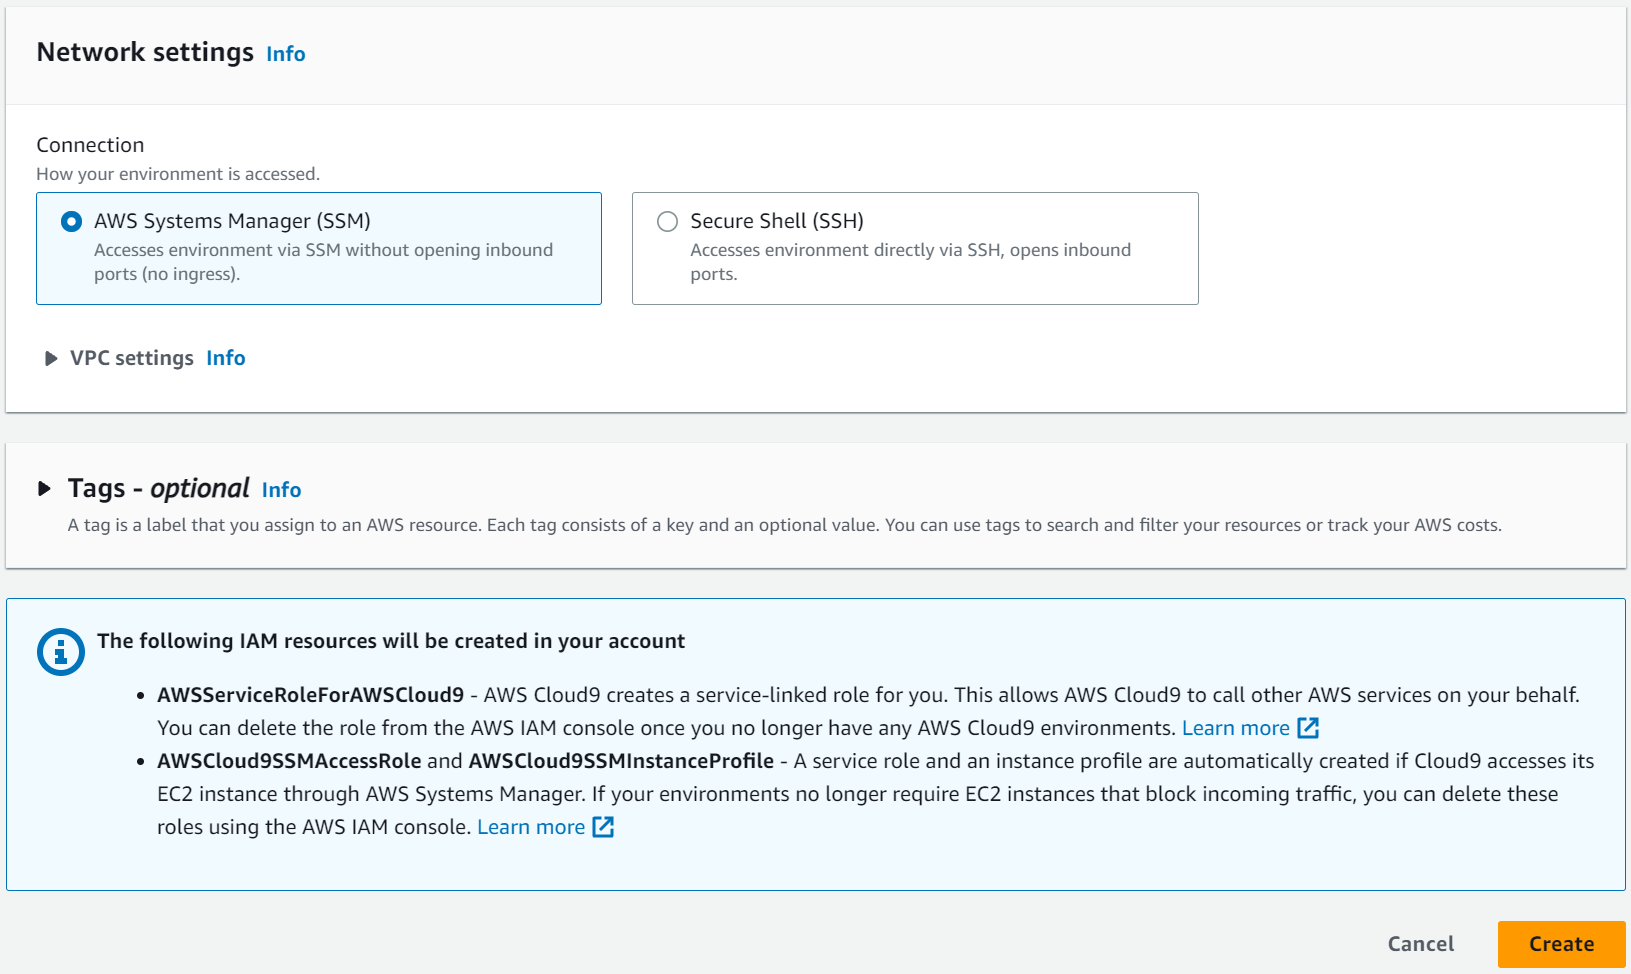
I just click the Create button and my environment will be prepared for me. This takes some minutes.
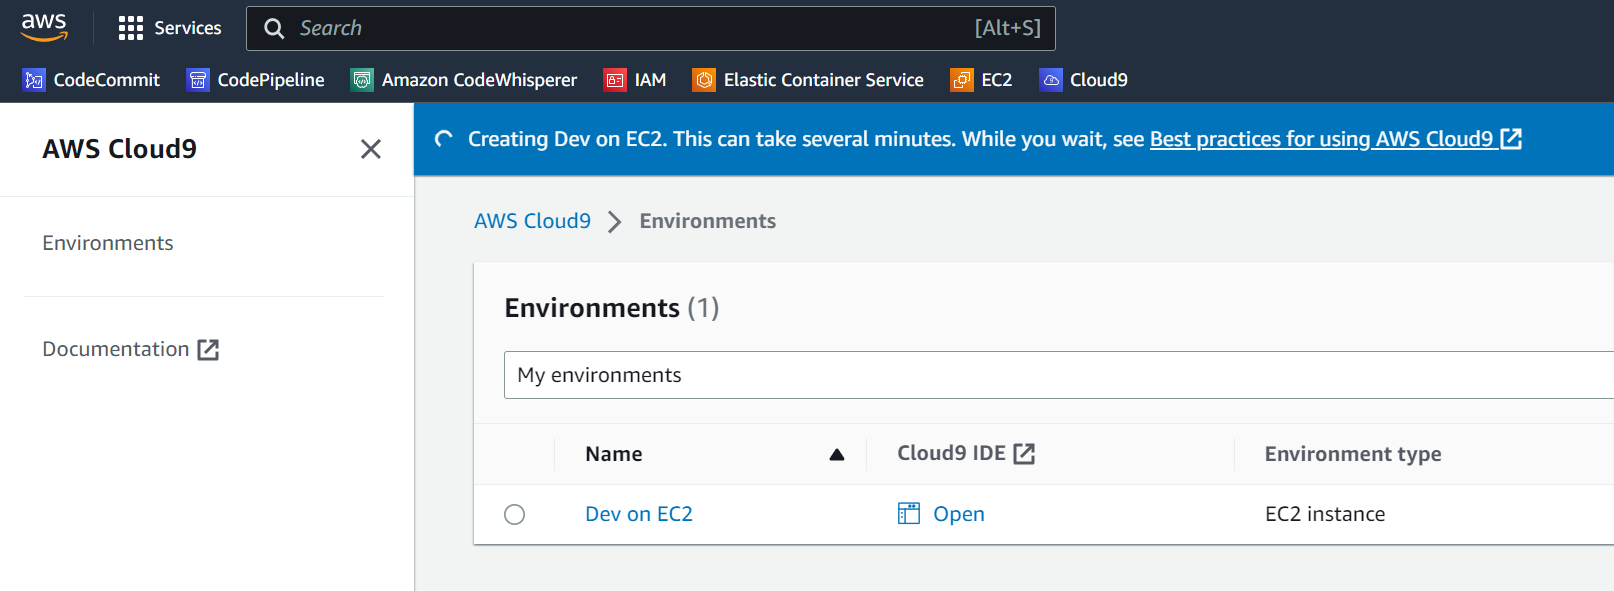
Next, I can open my AWS Cloud9 environment directly in my browser:
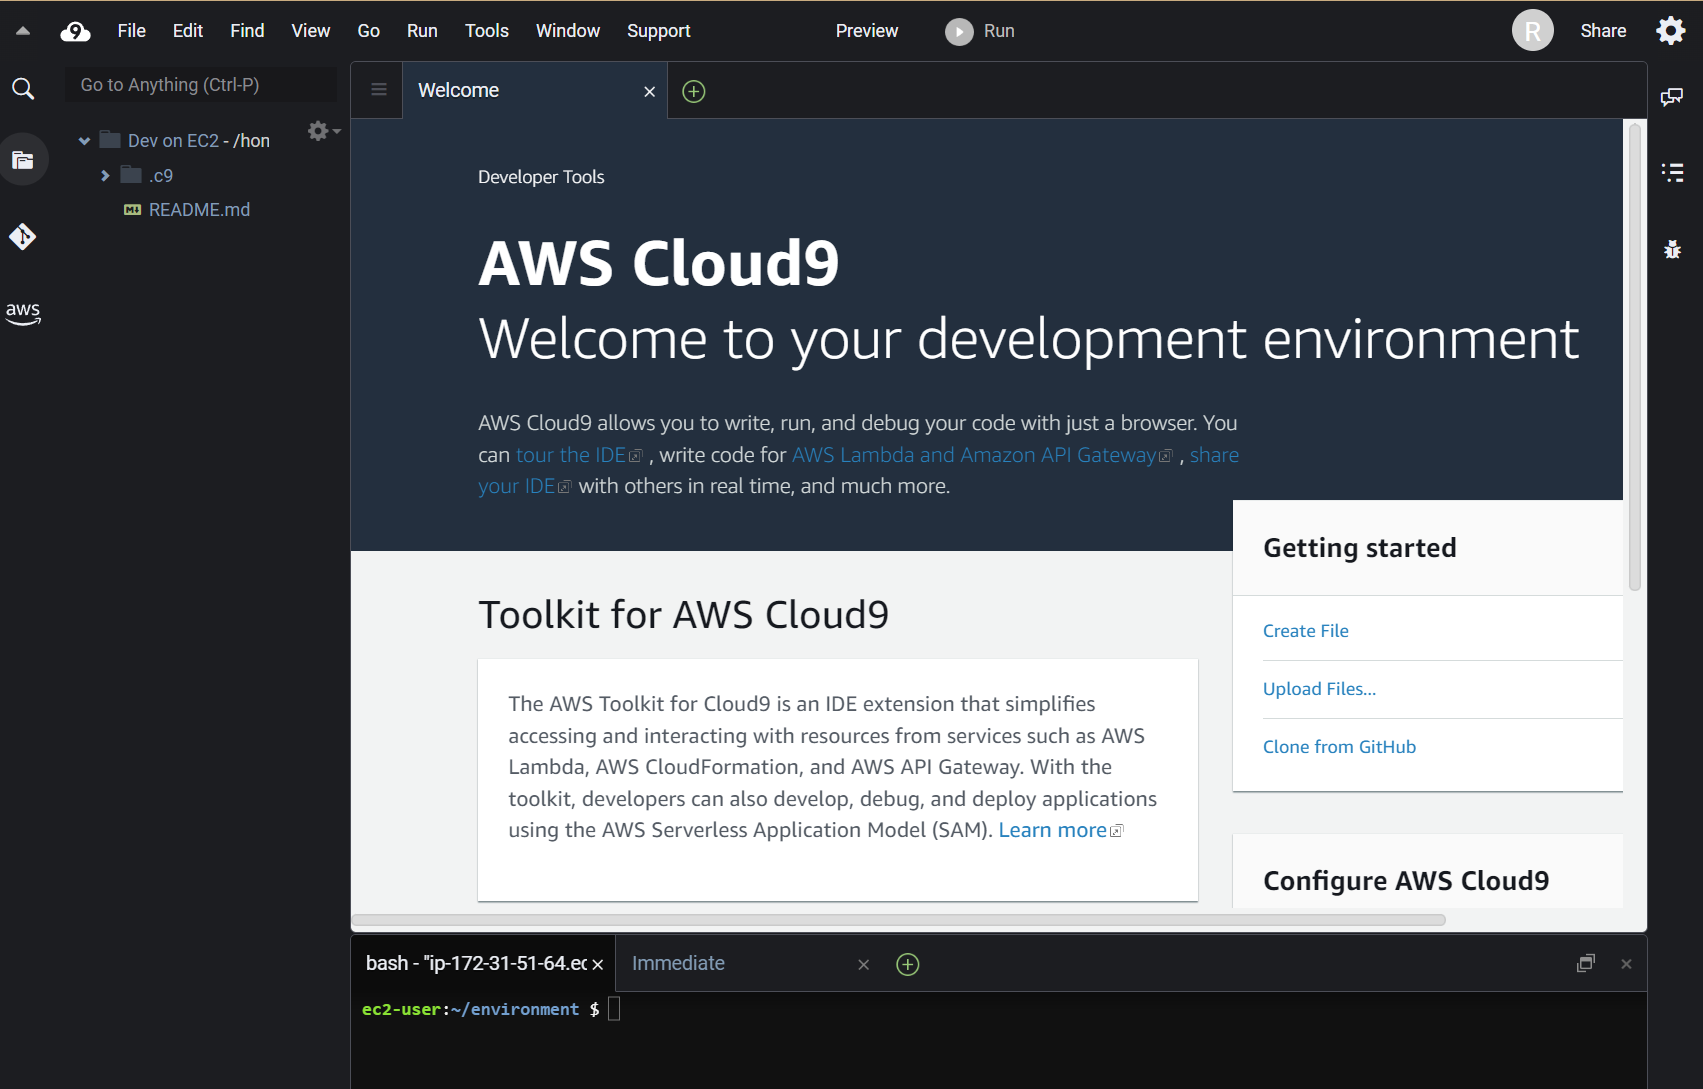
Prepare my Development Environment
Recently I blogged about creating microservices for Power Platform. I also shared there my example Github repository with you: https://github.com/megel/mme2k-graphviz.
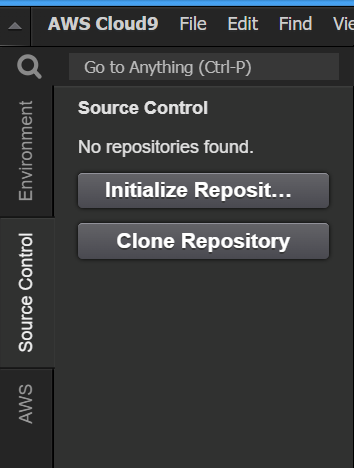
In this blog post, I want to use this code in my newly created AWS Cloud9 environment. Therefore, I navigate in my Cloud9 environment to Source Control and click on Clone Repository:
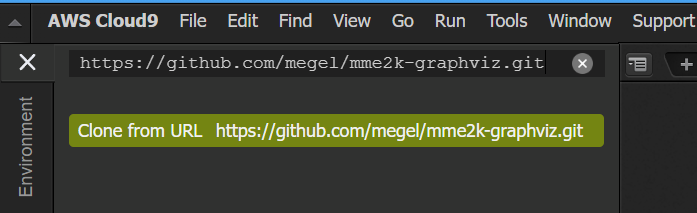
Afterwards, I enter my GitHub repository uri to clone the repository.
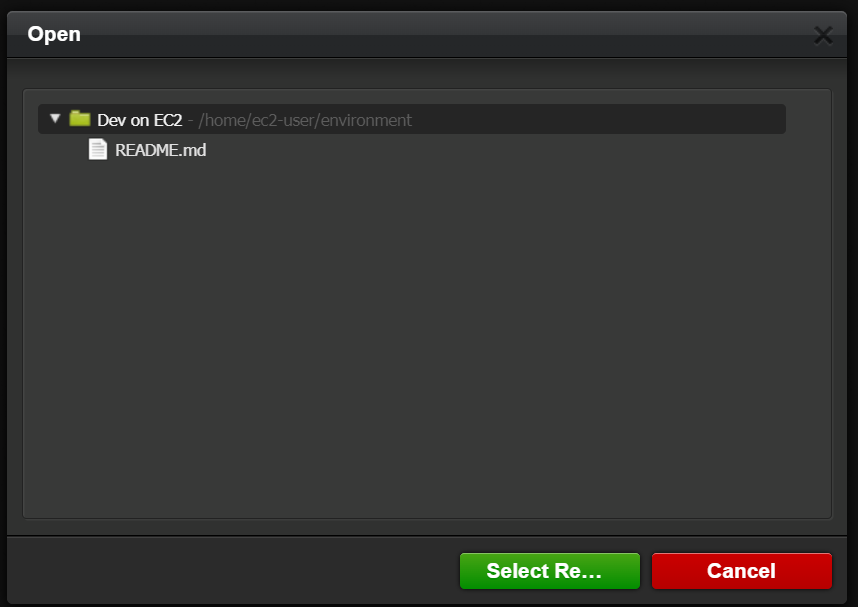
Cloud9 ask me where I want to clone my repo. For now, the root folder is perfect:
I see the result some seconds later. The whole code was cloned into my Cloud9 environment on my EC2 instance:
In the next step, I navigate in my bash to my source folder src. I start installing the required libraries described in requirements.txt:

As final step, I also install GraphViz on my EC2 instance. I do this, because my microservice need the installed GraphViz library. However, I execute this command in my bash:
sudo yum install graphviz
Testing my Flask app
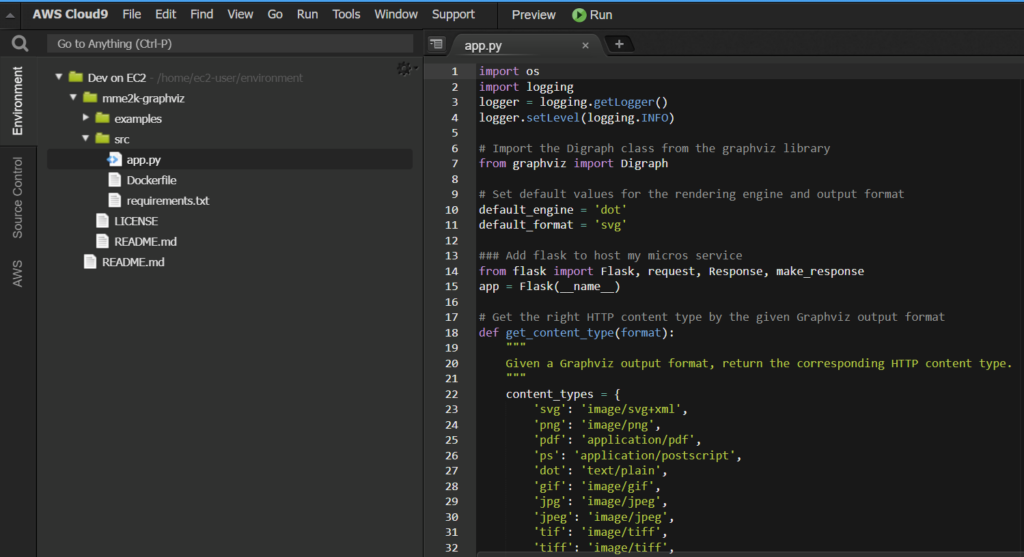
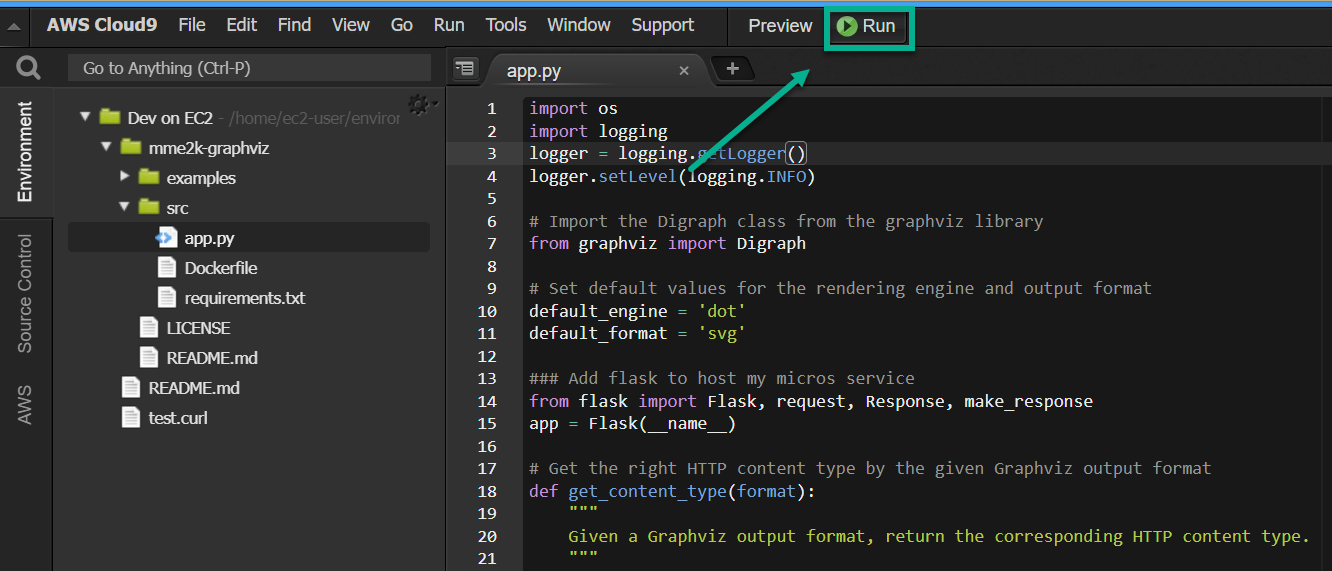
Ok, now I want to test my app. That means, I must start my Python app. For this, I select my app.py and click on the Run button:
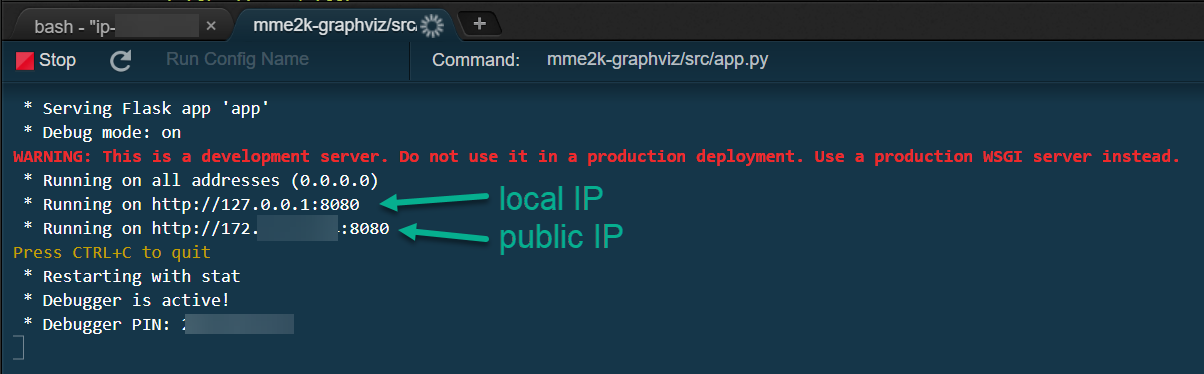
You see, everything works as expected and my Python Flask app starts. Here in the log are my IP addresses of my micro service:
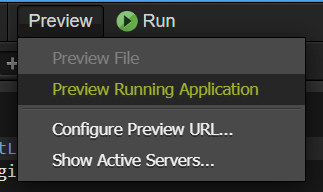
Furthermore, I can preview my running application in a web browser:
This means also, I must enter the correct route for my service. I use in my case the GET route “/info“. The result is shown here:

However, my service has also some POST routes. I could use a CURL command, but my service returns an image. Hmm, I need something like the REST Client extension in VSCode. It seems I need additional help.
Postman
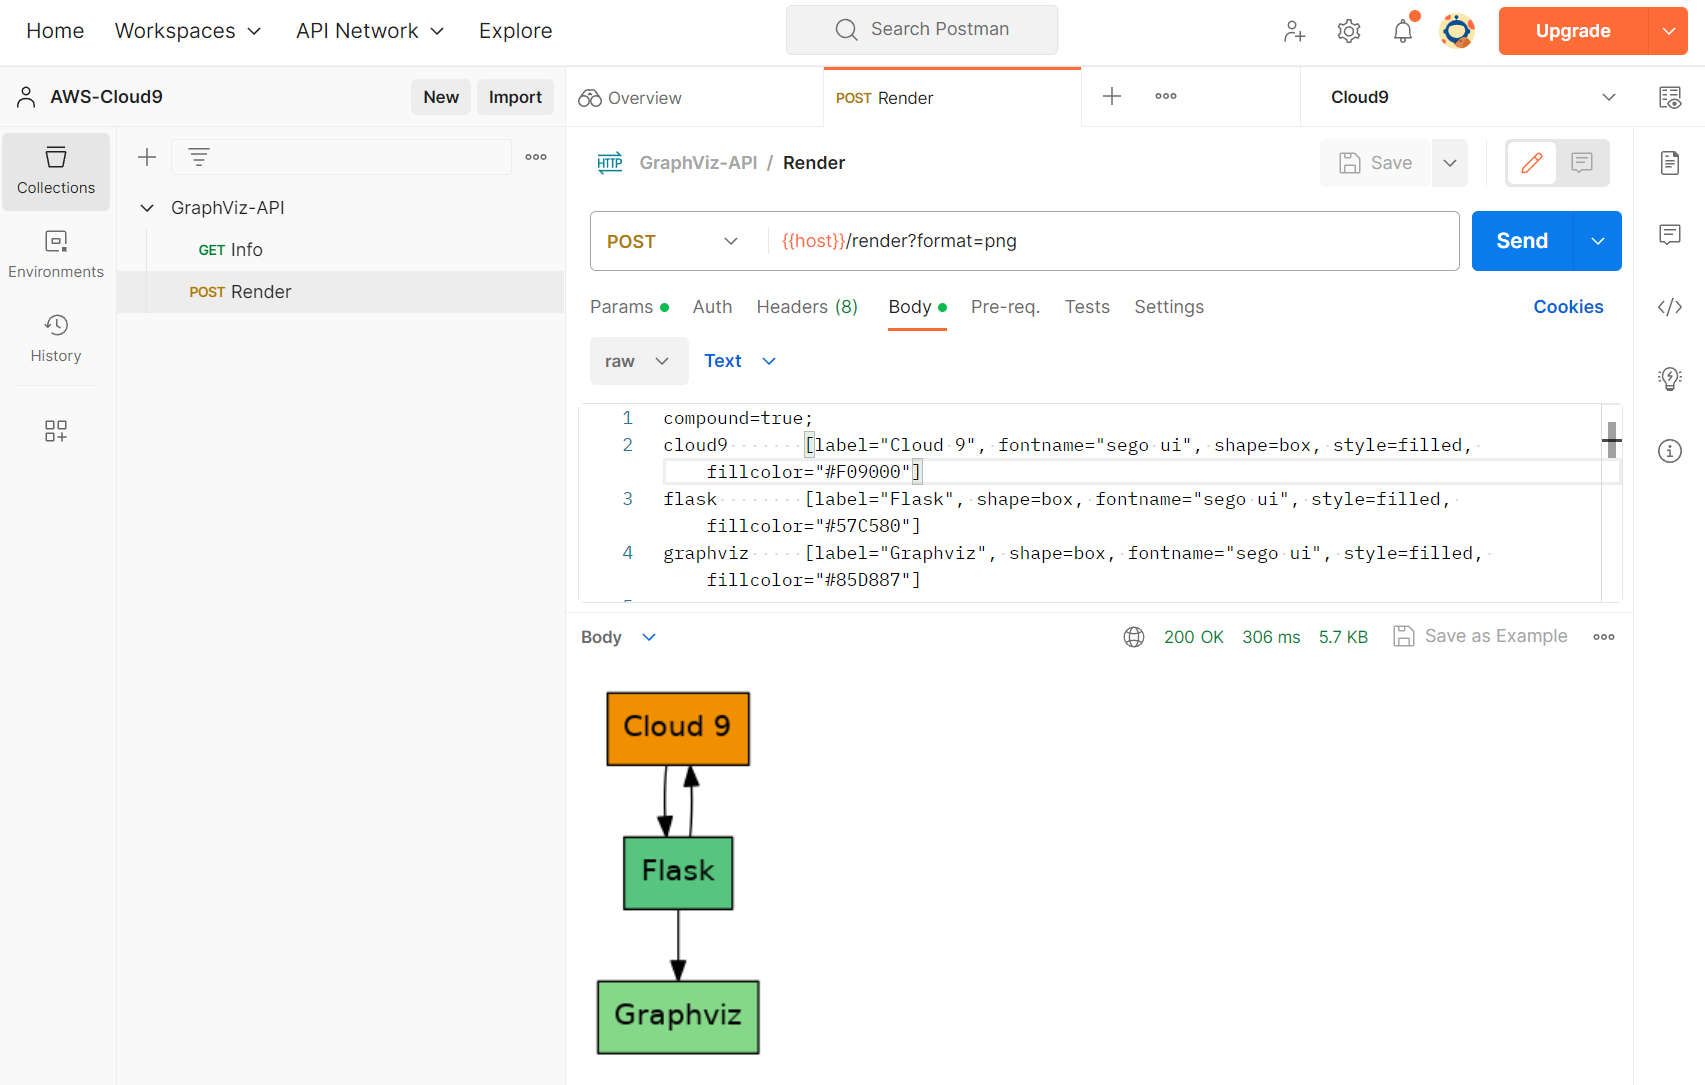
Moreover, I also want to stay online. For that reason, I use Postman in my browser. Postman is an API platform for building and using APIs. Furthermore, Postman simplifies the API testing for me.
In Postman, I have created a workspace and prepared my http calls. Furthermore, I have configured my public host address in my environment variable. As result, I can execute my http calls easily on my running Python Flask app on my AWS Cloud9 EC2 instance:
Note: You must configure your EC2 (network security group ingress rule), before you can access your running Cloud9 public IP address within port 8080.
Summary
To be honest, AWS Cloud9 is a real option for me to write code. This is because I can create a new environment in less than 5 minutes. My used EC2 instance is cost efficient and provides everything what I need. Furthermore, I can start immediately after launching my environment with development.
First, I can clone my repositories e.g., from GitHub. Second, I can also install project dependencies and required libraries on my EC2 instance. In addition, writing code, building an application, and debugging my code is also possible. This is mostly everything what I use in my VS Code.
However, there is also a drawback. AWS Cloud9 is not as extensible as Visual Studio Code. Well, I was able to run some CURL commands locally to test my API, but I switched to Postman soon. With this online tool for API testing, I was finally able to complete my test scenario in a positive way.
The bottom line is that I will continue to use AWS Cloud9 to write code and develop some microservices. I also want to start deploying these services in the AWS Cloud and integrating them with Power Platform.