
Getting Started with Databricks Free Edition
I wear two hats. My profession is Data Platform Architect, where Databricks, Delta tables, and Unity Catalog are just another Tuesday. My hobby – if you can call it that – is being a Microsoft MVP for Power Apps, living inside Dataverse, Power Automate, and low-code. It is how it is. These two worlds rarely meet. This post is where I make them.
If you’ve followed my spec-driven development series, you know I already extract receipts and invoices using Azure AI Foundry Content Understanding. But I kept wondering: what if Databricks did the same job instead?
Before that extraction logic can happen, though, there’s groundwork to lay. You need a Databricks workspace, and you need to understand catalogs, schemas, volumes, and tables – because that structure decides where your files land.
So that’s where this post starts: signing up for Databricks Free Edition, then building the Unity Catalog objects – a catalog, a schema, and a volume – ready to receive files. The next post tackles the real challenge: bridging Dataverse and Databricks when the native connector can’t upload a file. For now, let’s get Databricks ready.
Signing Up and Standing Up a Workspace
Good news first: you don’t need an Azure subscription, a company laptop, or a credit card to follow along. Databricks Free Edition gives you a real workspace, for free, in just a few minutes.
Signing Up for Databricks Free Edition
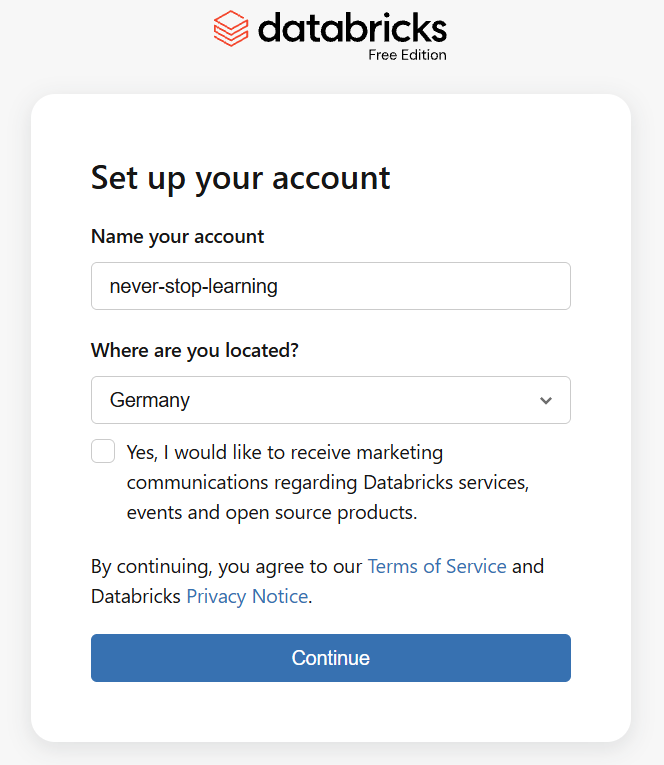
Head to the Databricks Free Edition signup page and create an account with your email address.
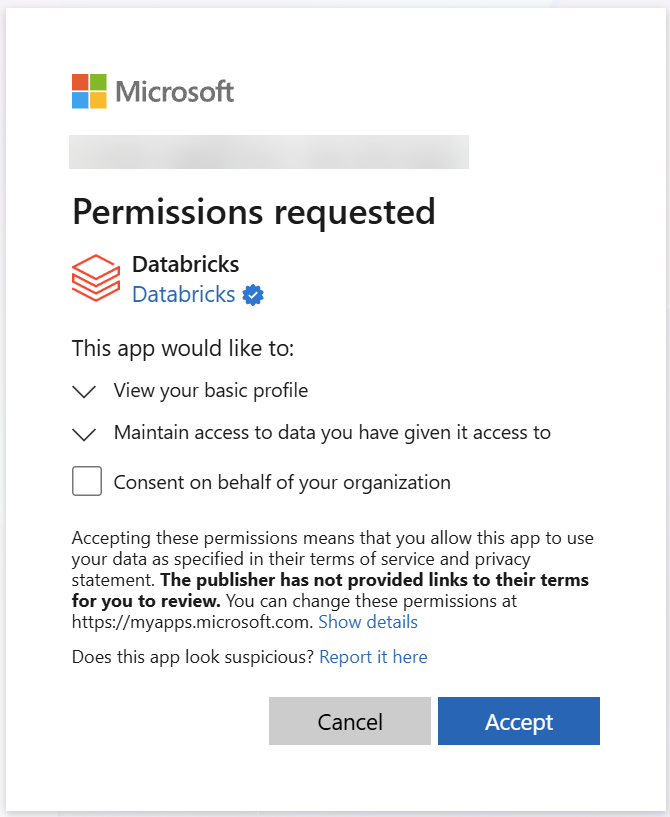
Next, Databricks asks you to grant consent for the workspace it’s about to create on your behalf. Accept it, and the provisioning starts.
Workspace Provisioning
Behind the scenes, Databricks now spins up your workspace. It’s not instant, but it’s not slow either. Expect a short wait while the infrastructure comes together.
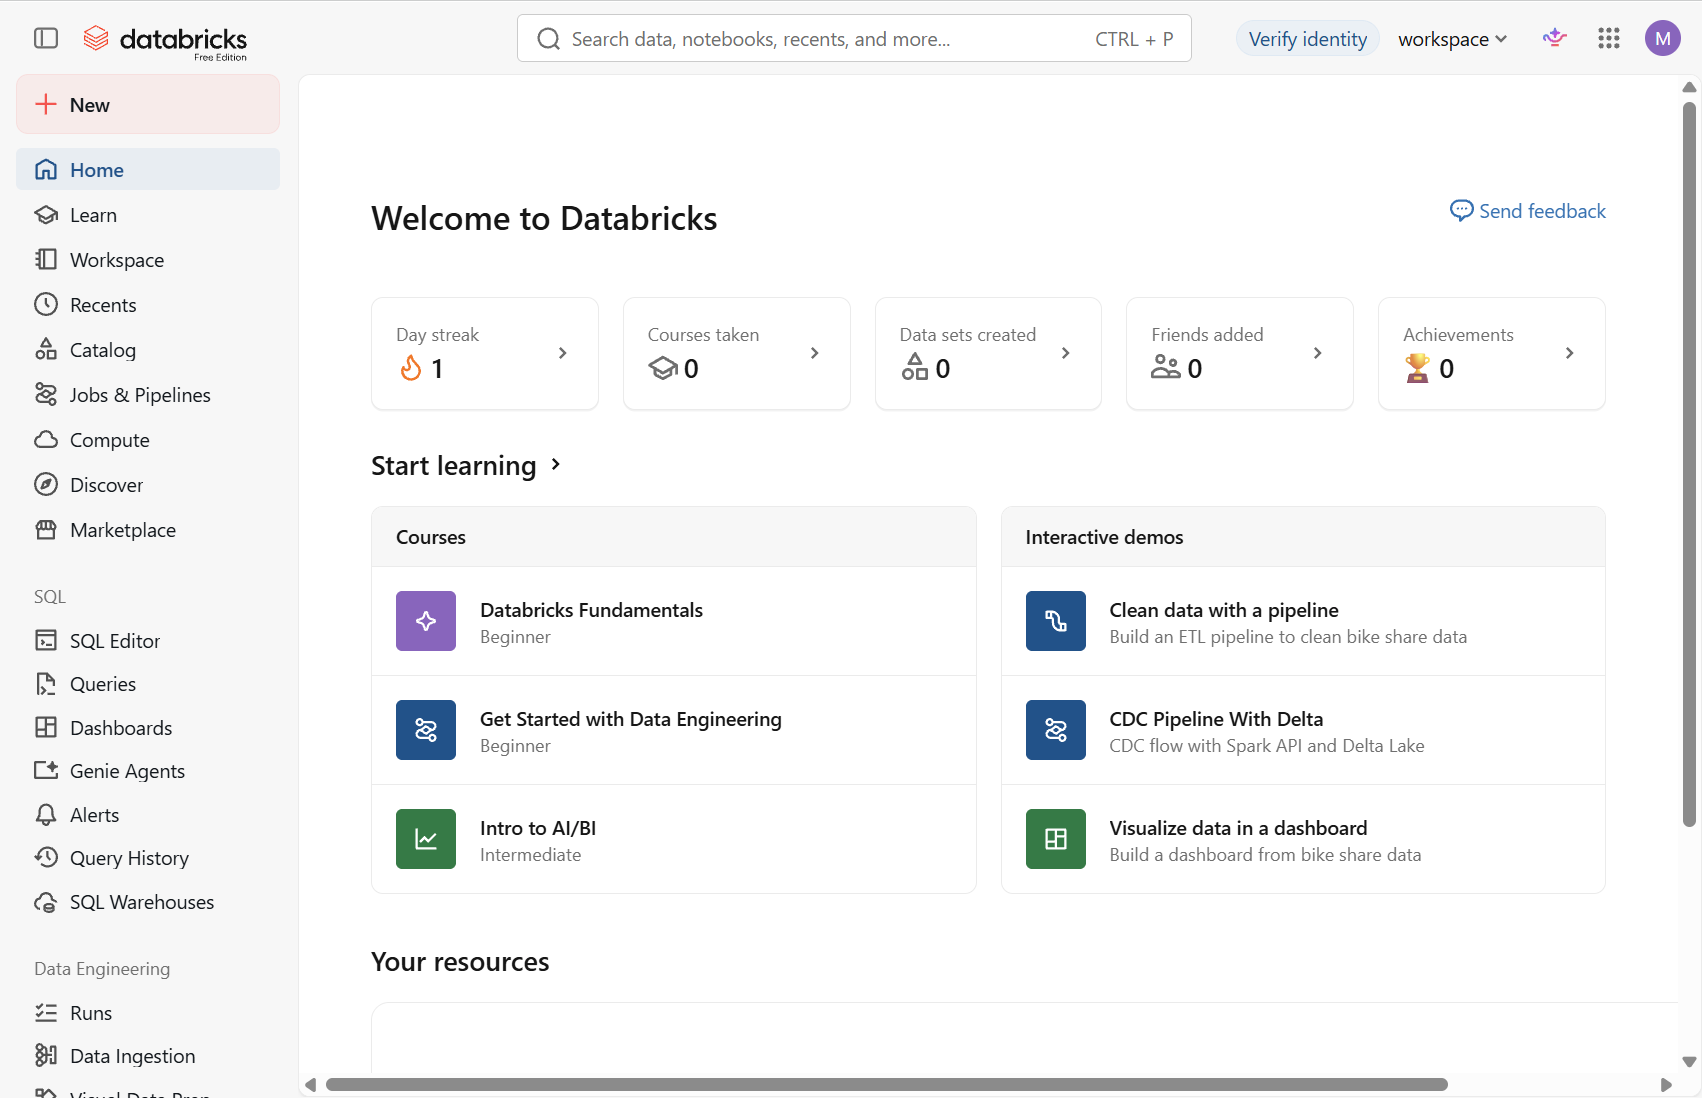
Once it’s done, you land on a ready-to-use workspace – ready for you to start building catalogs, schemas, volumes, and data transformations in Databricks.
That’s the hard part out of the way. Now let’s talk about how Databricks organizes your data, because that’s what the rest of this series depends on.
Unity Catalog 101: Catalogs, Schemas, Volumes, and Tables
Your workspace is ready, but it’s empty. Before you can land a single file in Databricks, you need to understand how it organizes data. Unity Catalog is the answer, and once it clicks, it’s genuinely simple.
The Object Hierarchy
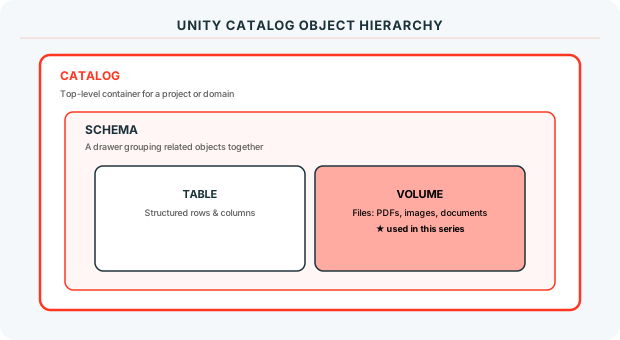
Think of it as a filing cabinet. A catalog is the cabinet itself, the top-level container for a project or domain. Inside it, a schema is a drawer, grouping related objects together. Inside a schema, you’ll find tables (structured, row-and-column data) and volumes (a folder for files – PDFs, images, anything unstructured). For this series, volumes are what matter most. They’re where an uploaded receipt or invoice will actually land, before anything processes it.
Creating a Catalog
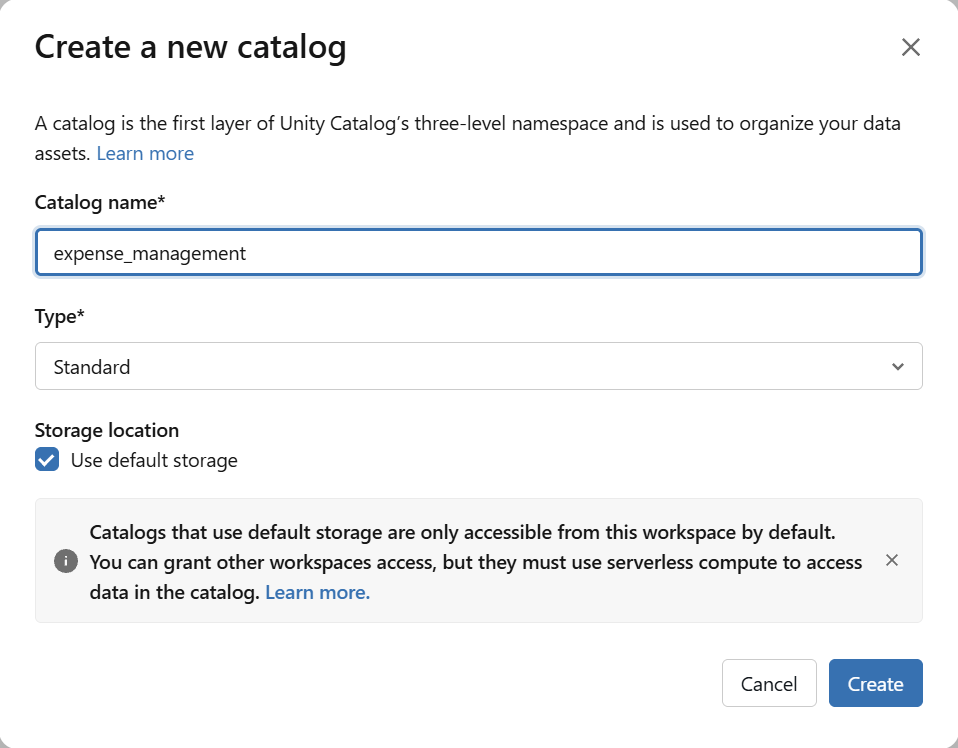
In Catalog Explorer, start a new catalog. I named mine expense_management, since that’s the project this whole series revolves around.
Creating a Schema
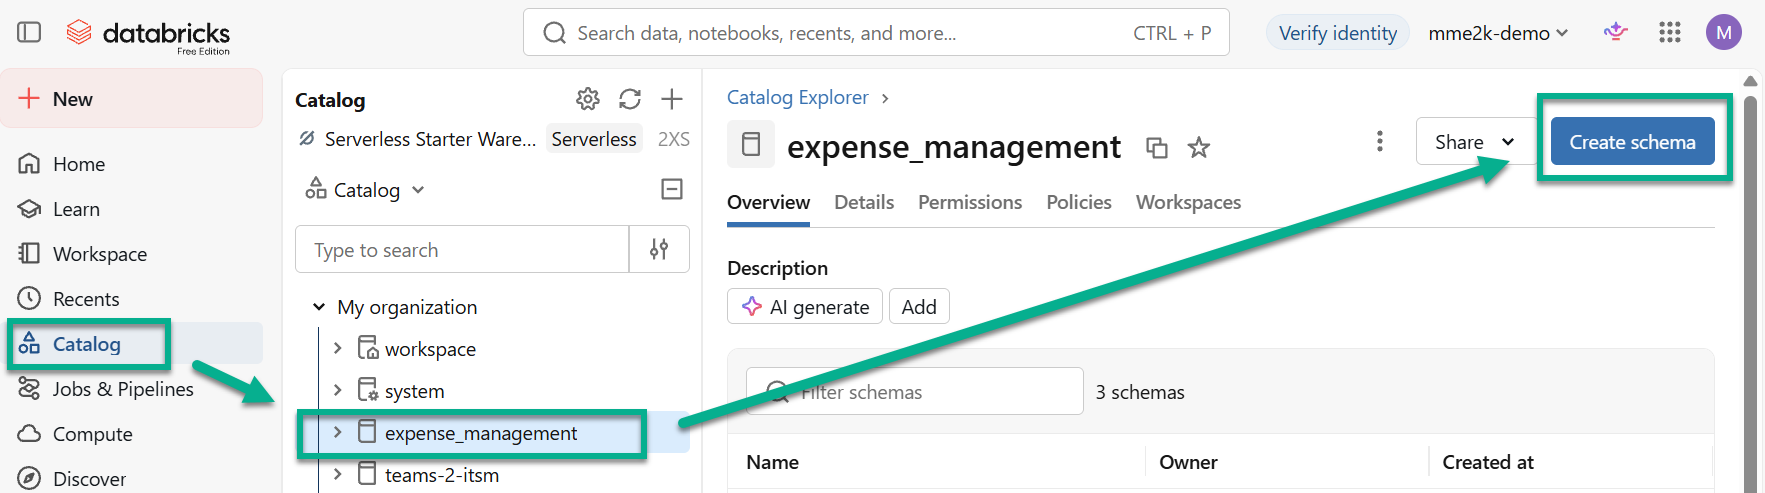
Next, navigate into your new catalog and create a schema inside it. This is where your receipts-processing objects will live. Open the catalog, then use the Create schema button in the top-right corner.
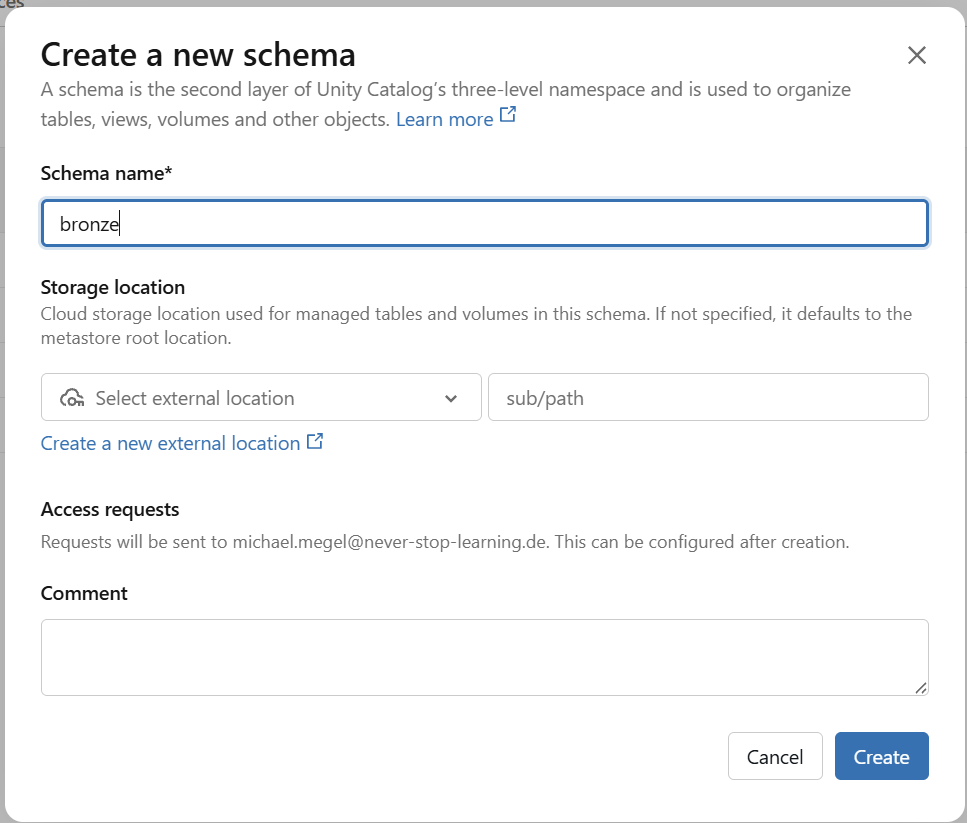
A dialog opens. I went with bronze, following the medallion architecture convention where raw, unprocessed data lands first.
Creating a Volume
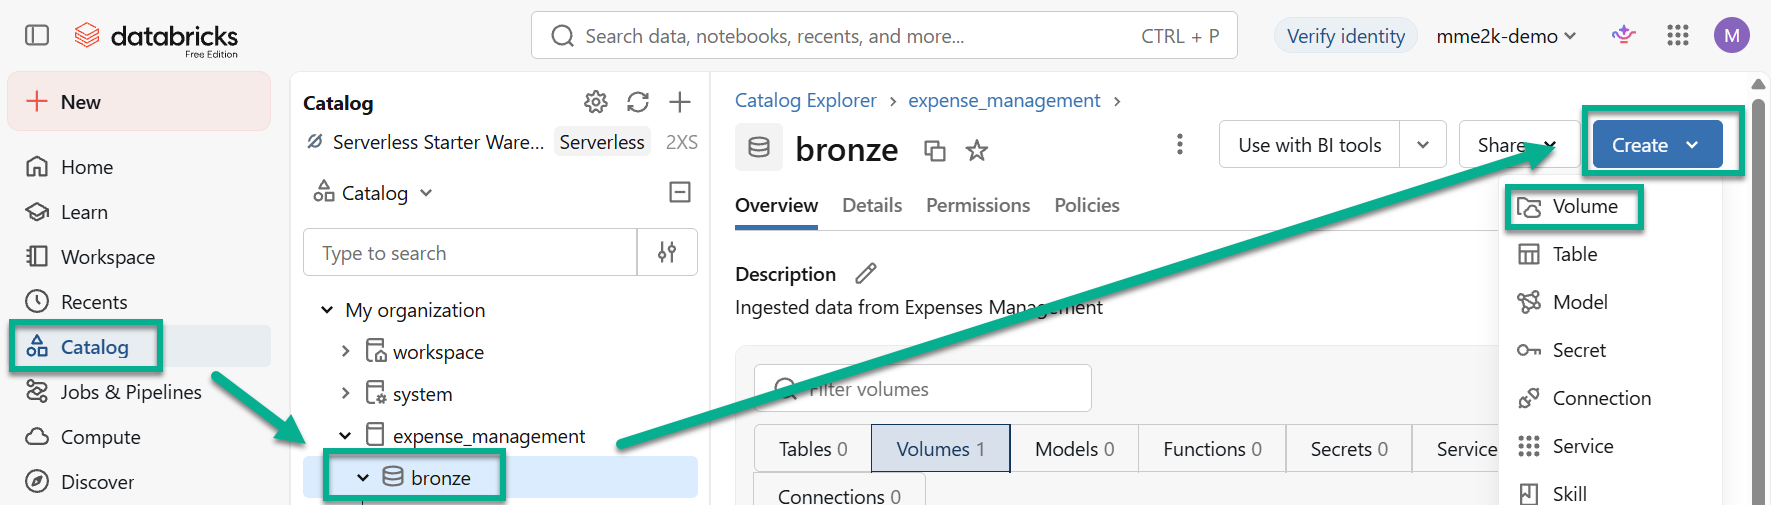
Finally, navigate into the schema and add a volume. This becomes the drop zone for uploaded files. Open the bronze schema, then use the Create dropdown to pick Volume.
This time, I chose dropzone as the volume name – a clear signal that this is where files land before anything processes them.
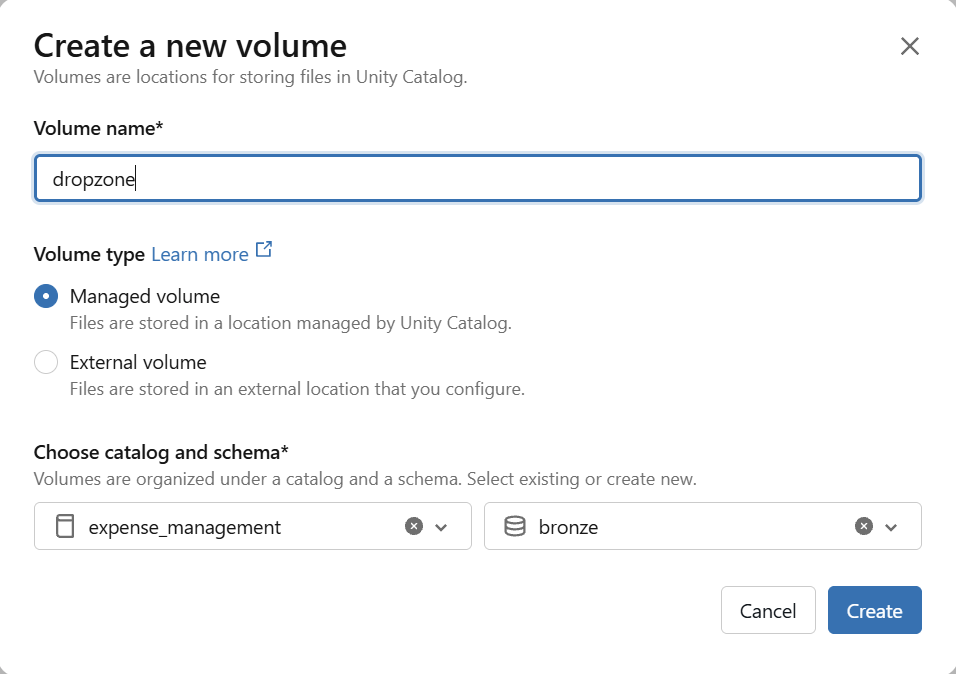
You now have a catalog, a schema, and an empty volume waiting for files.
Summary
My goal with this post was simple: show that a Power Apps MVP and a Data Platform Architect can share the same project, starting with the Databricks side of the house. No Azure subscription, no cost, just a Free Edition signup and a bit of Unity Catalog theory put into practice.
Along the way, you saw how to sign up for Databricks Free Edition and get a workspace running, and how catalogs, schemas, and volumes fit together – then created exactly that structure: a catalog, a schema, and an empty volume, ready to receive files.
That volume sits there empty for now. The next post in this series picks up from here and builds the actual bridge from Dataverse into it – stay tuned.